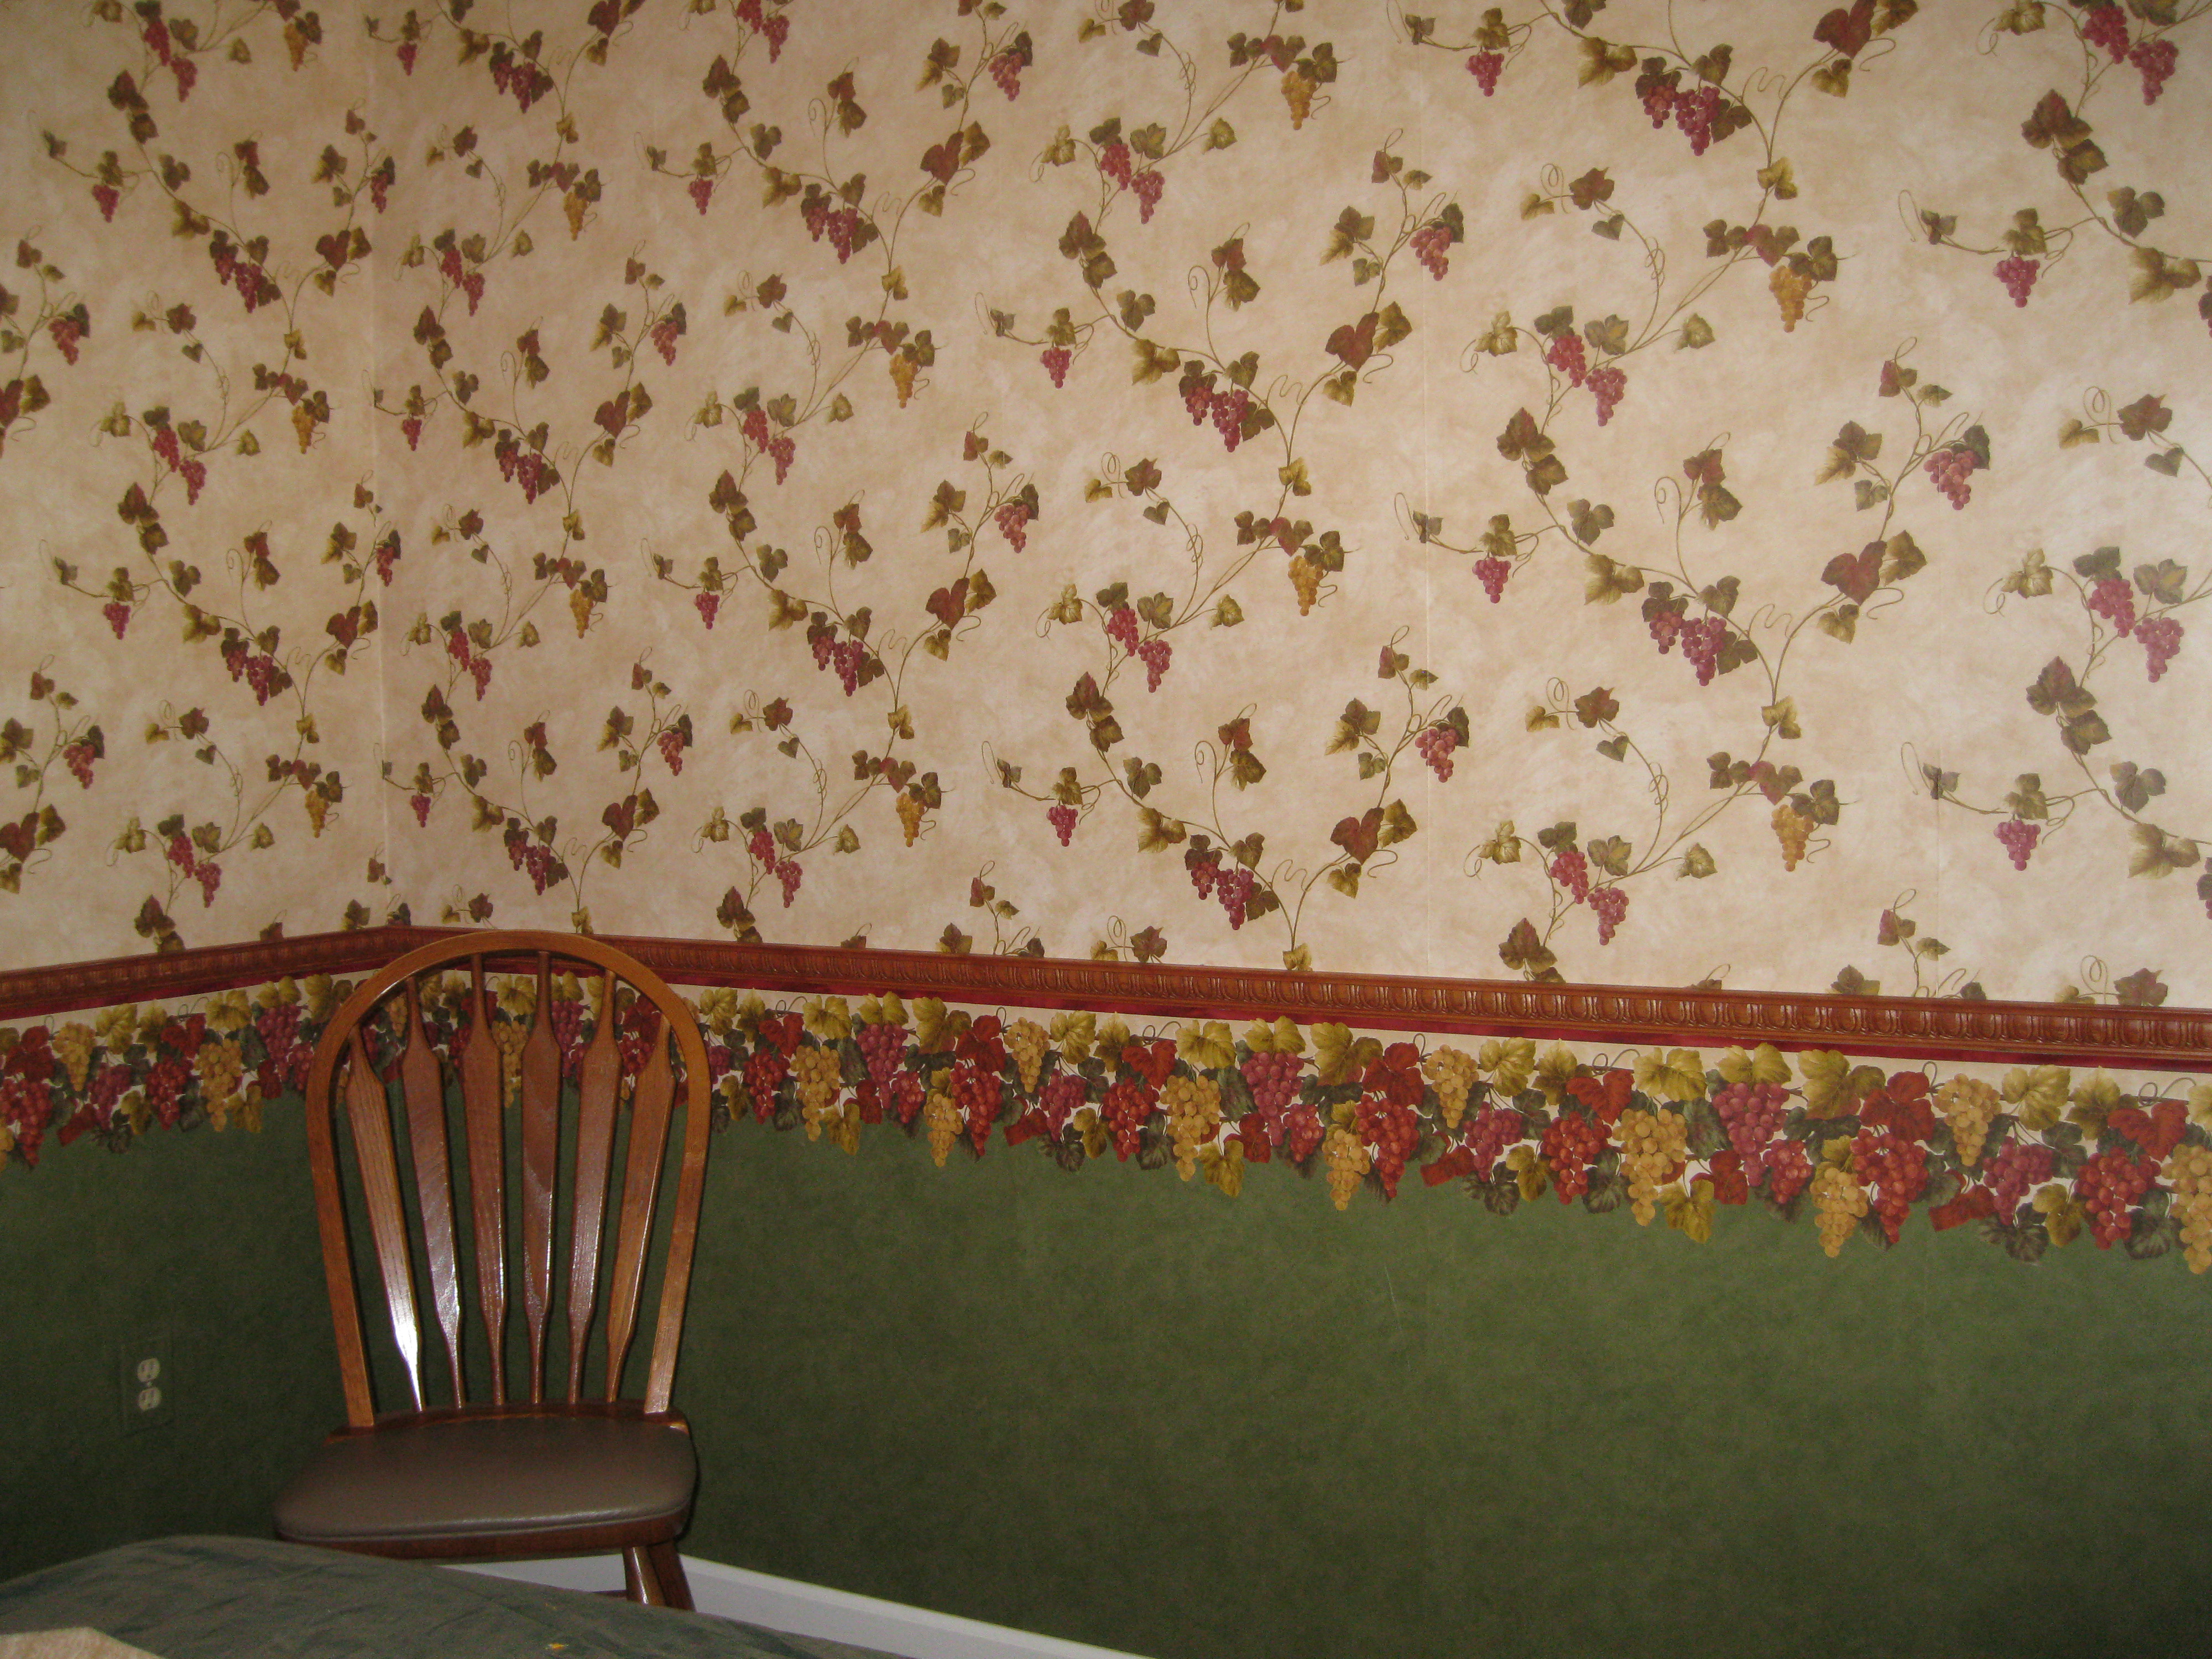
 In the beginning, there was wallpaper. And the wallpaper was just fine with me and Mr. Porter (hubby).
Then came the Realtors who were going to sell our house for The Great Move To Boston, who told us to get rid of the wallpaper or we would never sell the house.
Then The Great Move to Boston didn’t happen, and we decided to keep the wallpaper.
Then we thought We Should Sell The House And Downsize, and decided to get rid of the wallpaper.
We got an estimate of $560 from a contractor who said he could remove the wallpaper and repaint the room in 2 days. We thought that was too expensive, so we said, “We’ll do it ourselves.”
“No problem,” I told Mr. Porter at the beginning of March. “I can scrape the walls, prime and repaint, and be done by the end of the month.”
[Life had other plans, but I was blissfully ignorant.]
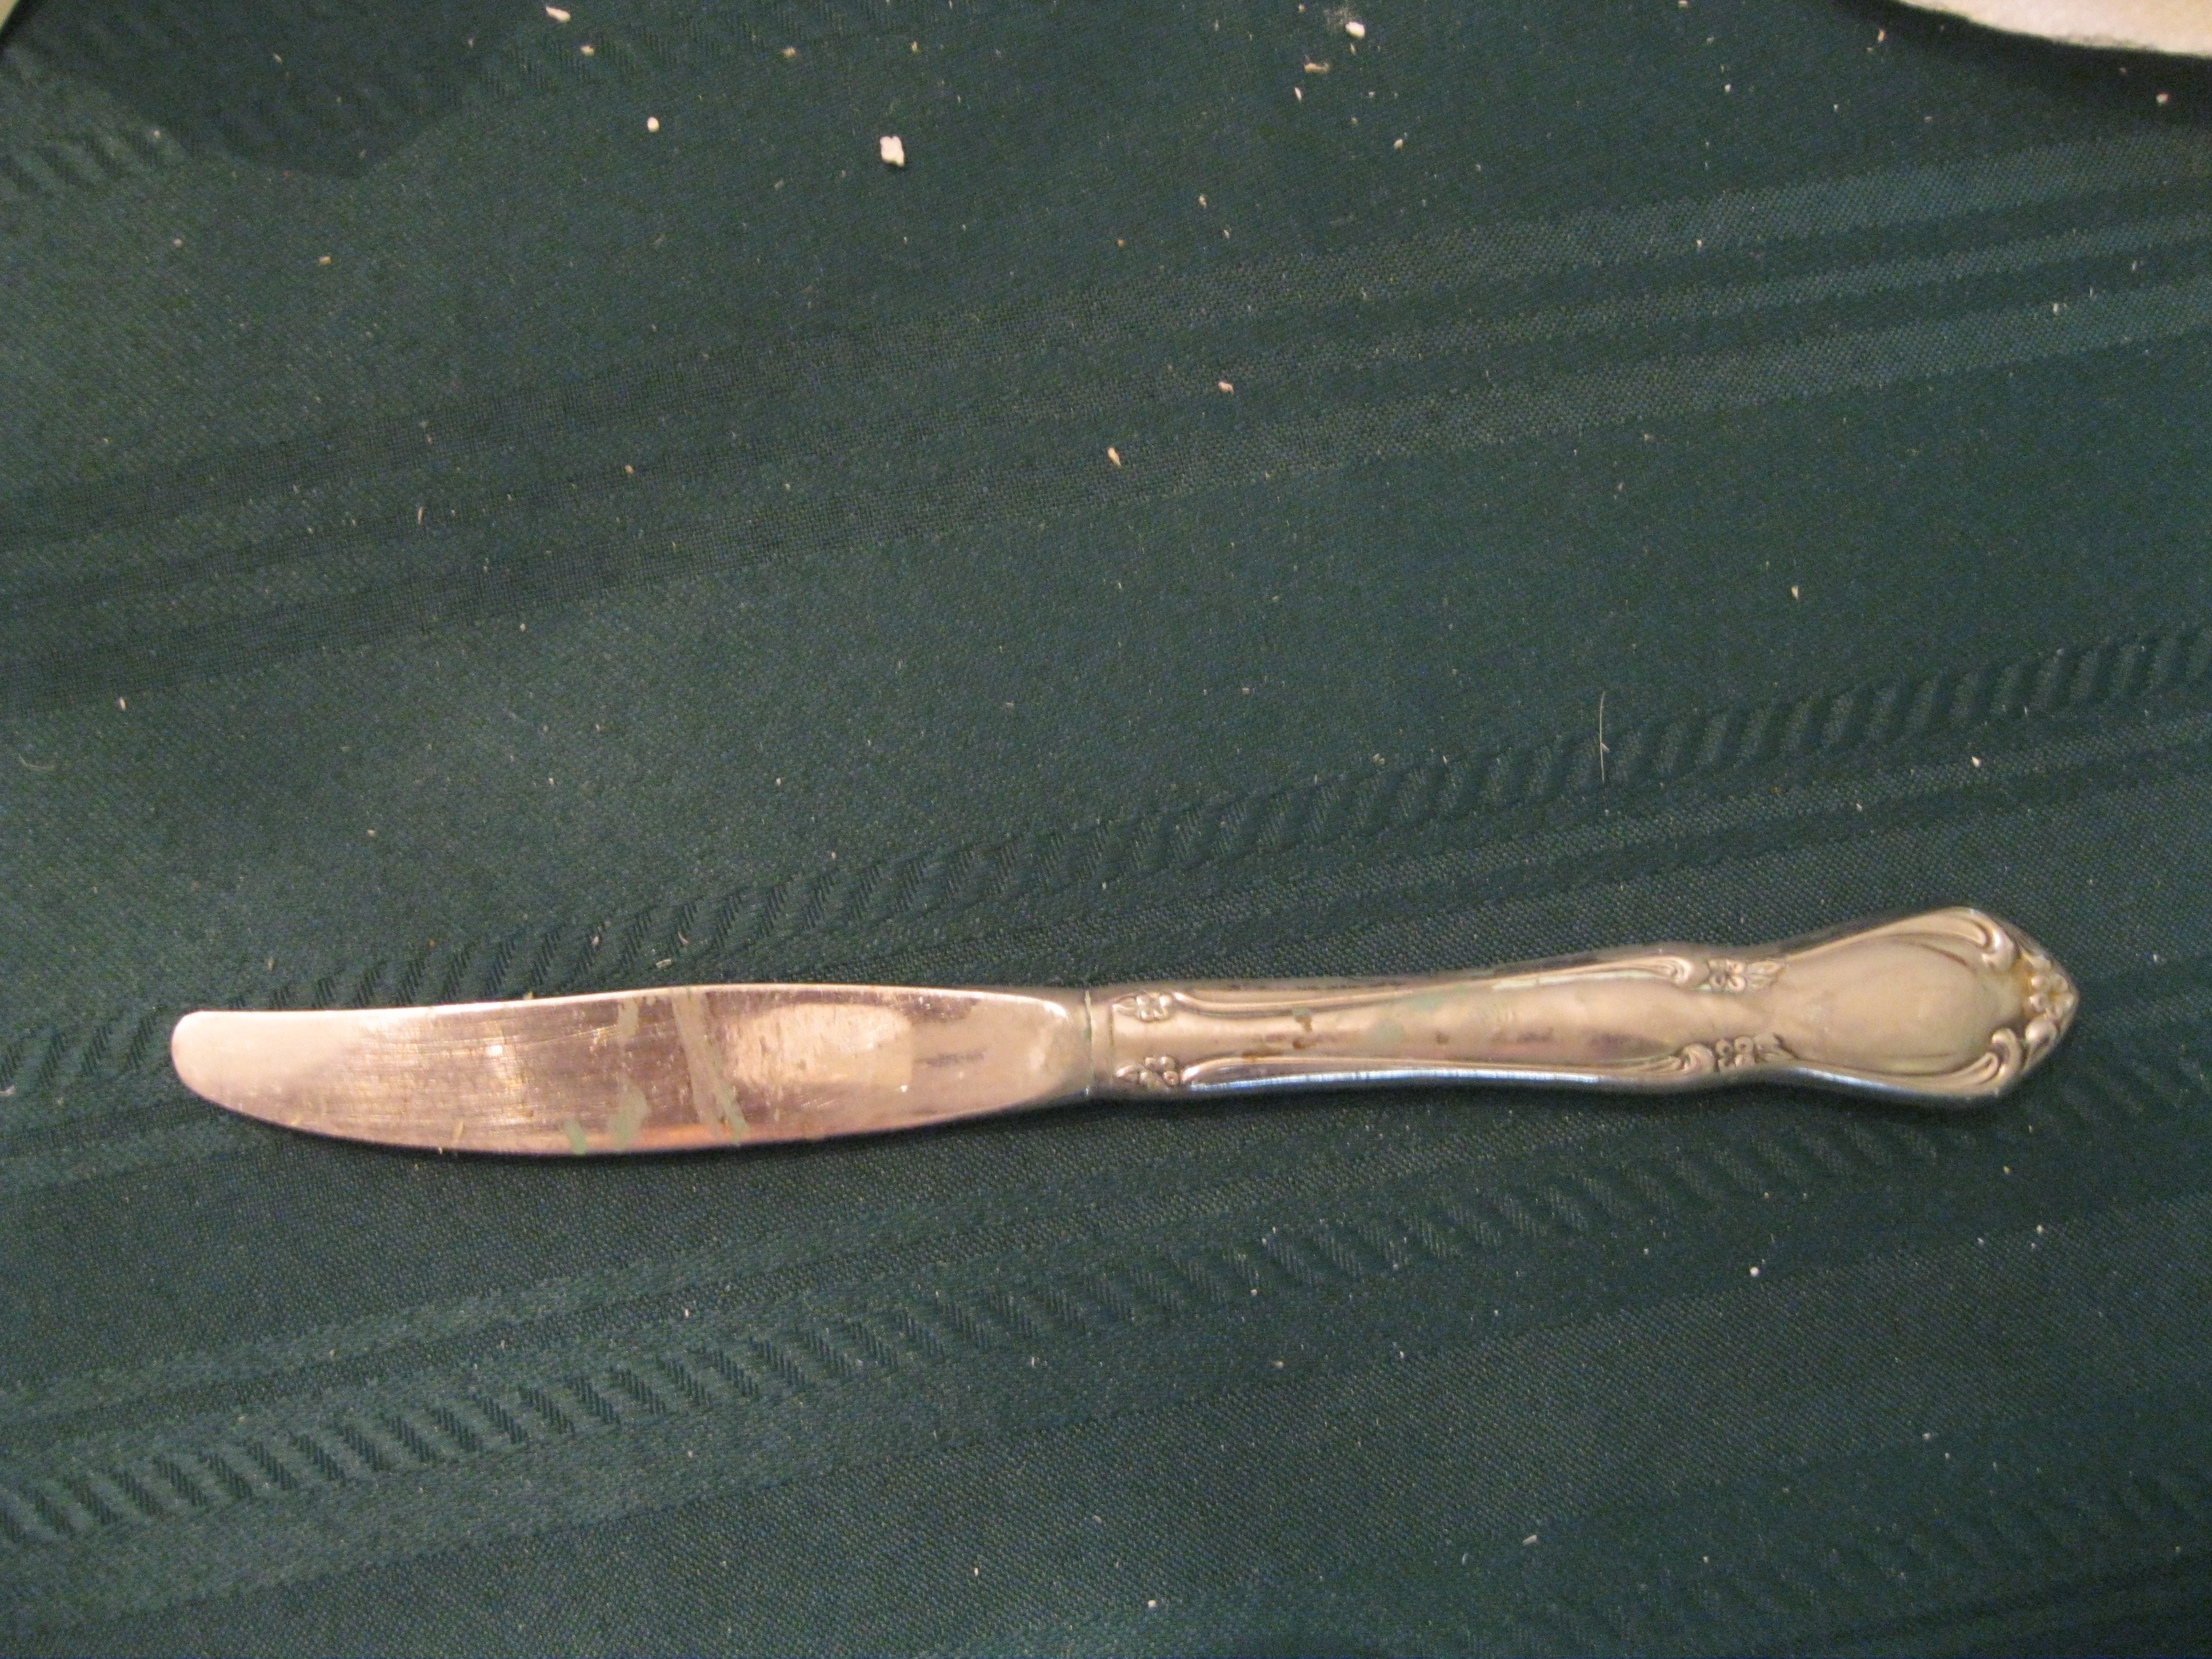
I assembled my tools: a spray bottle filled with water and vinegar, and a wallpaper-removal-scraper-thingy. Don’t forget the butter knife.
And I began my quick and easy do-it-yourself project.
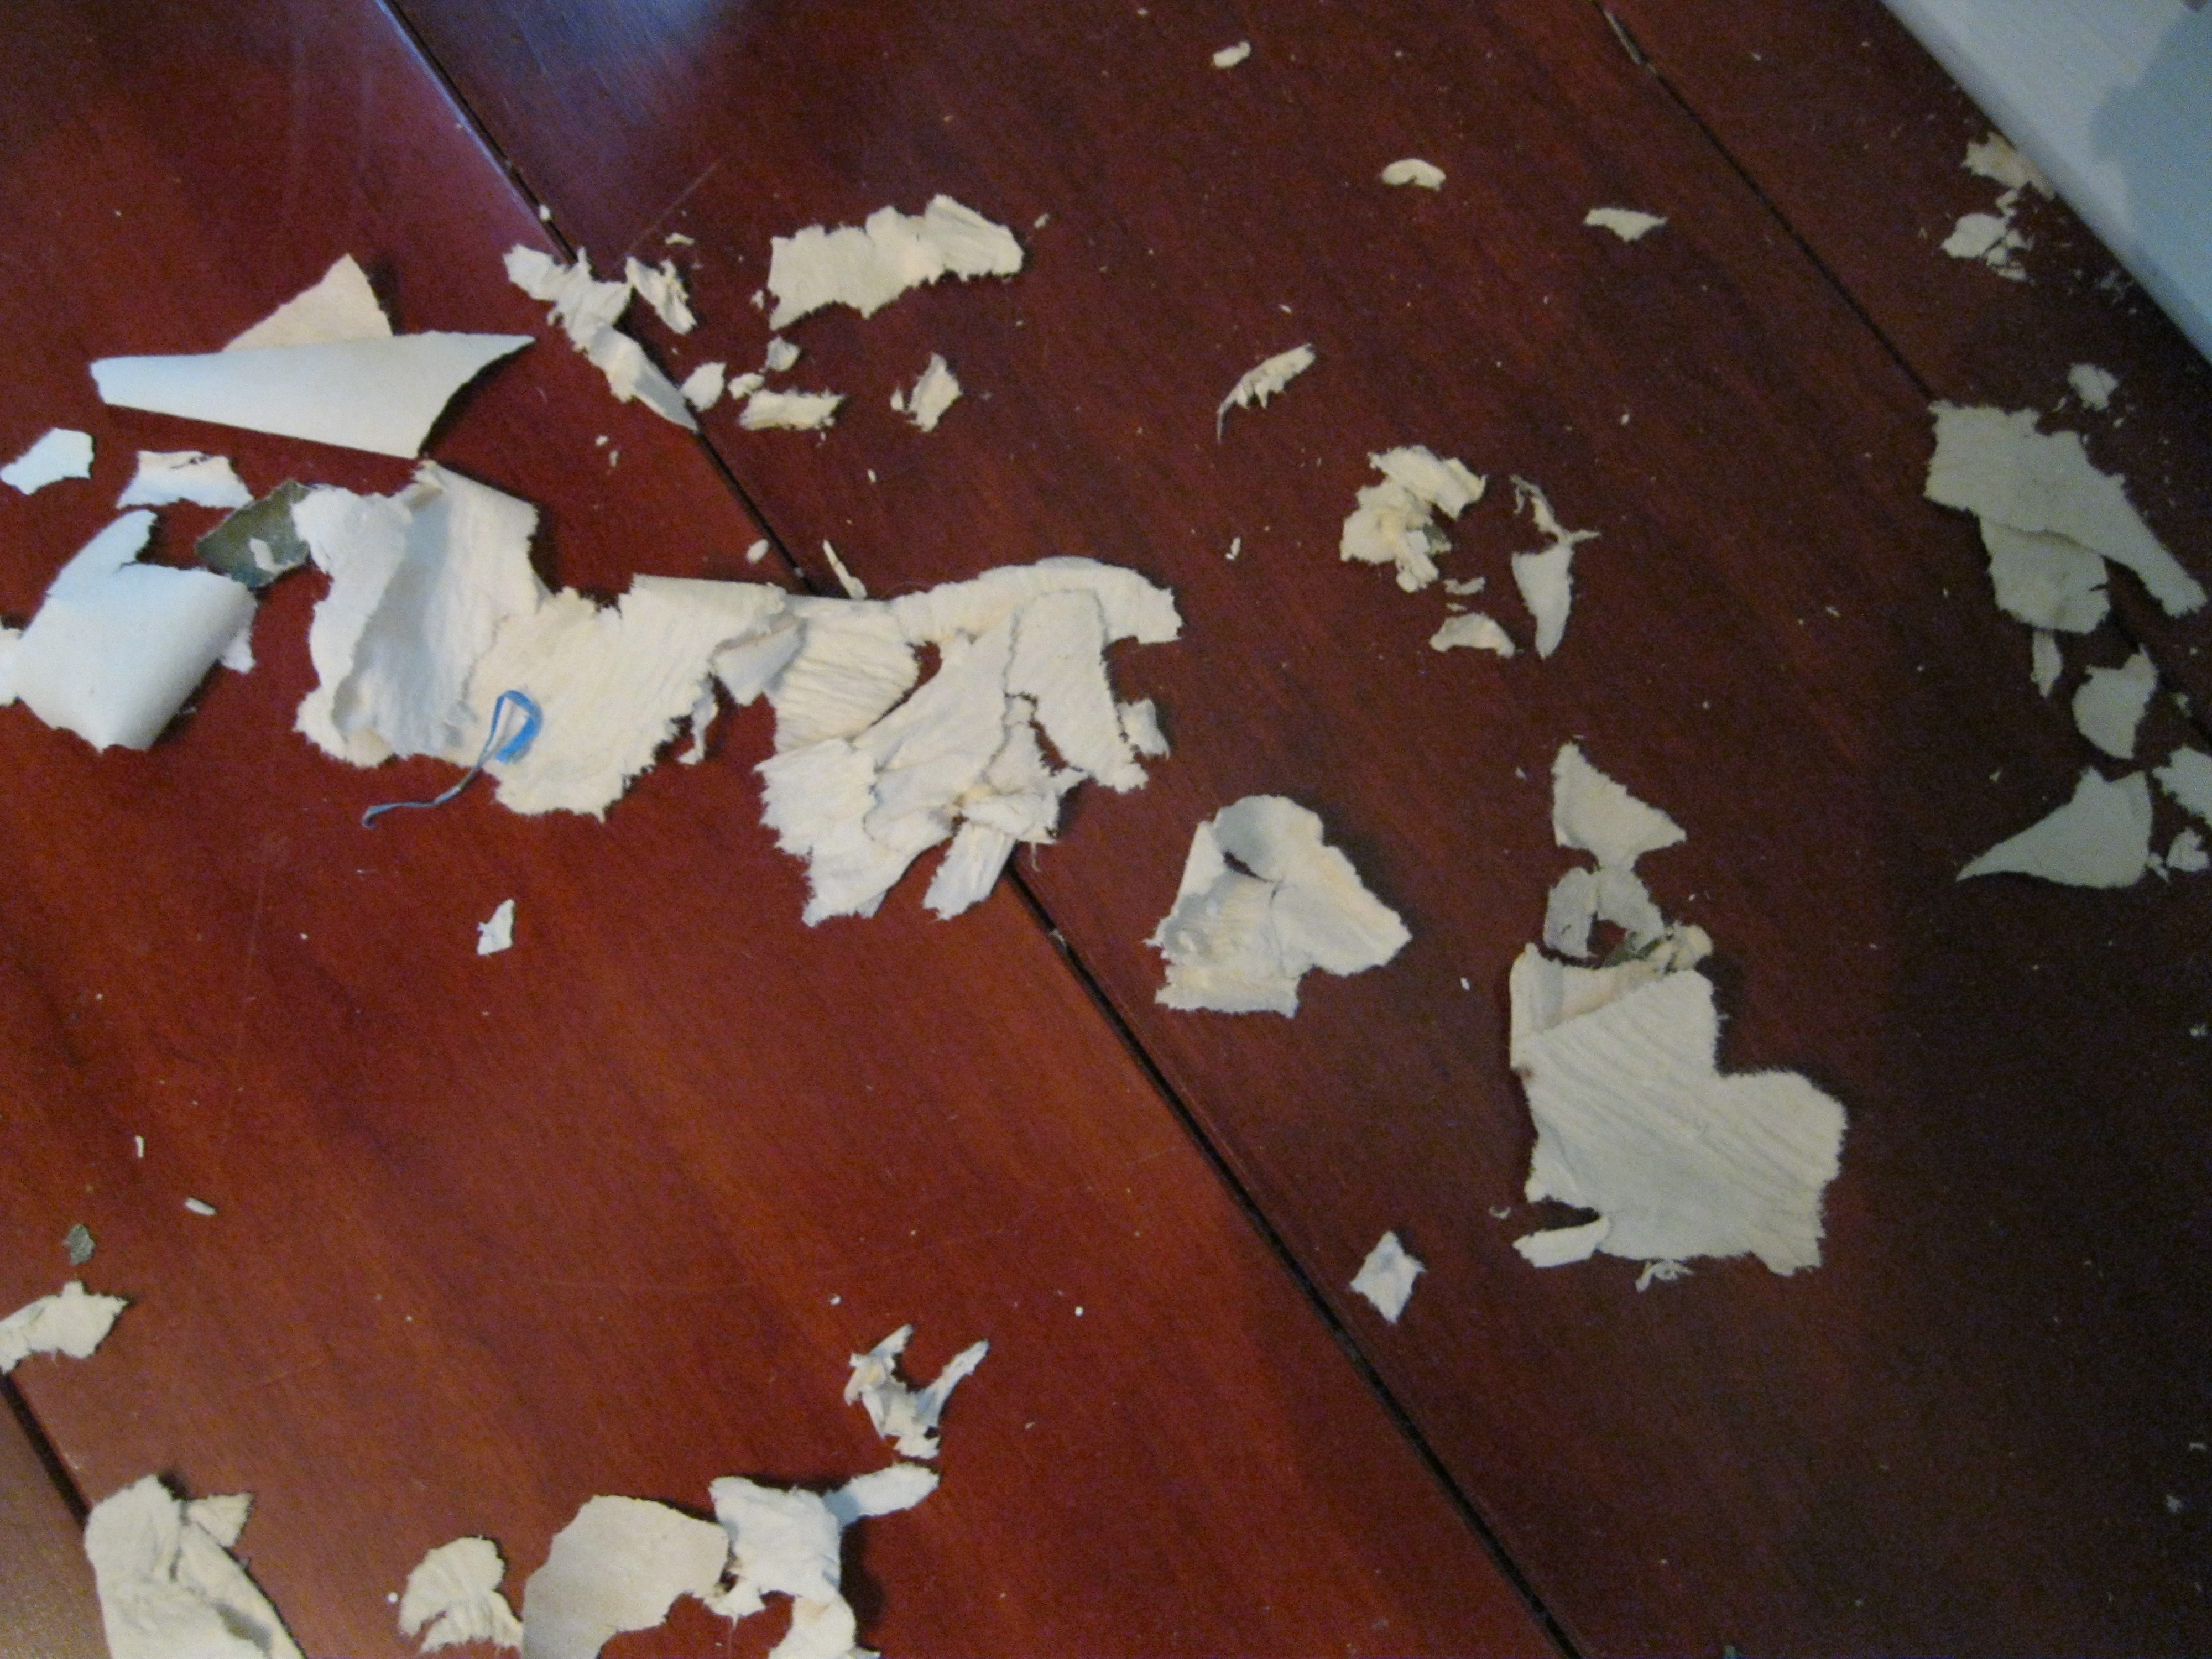
So I sprayed and scraped and scraped and sprayed. I started to rip down the wallpaper, some in big chunks, some just small pieces. One layer of paper came off; then I had to spray and scrape again for the second layer. As Mr. Murphy’s law would have it, I scraped too hard and had little scrape holes in the wallboard. Not to worry–this would be filled in later with putty. Oh no, that adds more time–I have to wait until it dries and then sand it, creating even more mess on the floor.
Finally, the paper was off the walls. Now, all I had to do was wash the walls, to make sure all the sticky-glue was gone. After consulting some experts, (1. my cousin and 2. the girl at Lowe’s who makes minimum wage) I knew that I would have to scrub and wash and scrub and wash to get all the sticky-glue gone.
And so I did. But as I ran my hands over the walls, it still felt like sticky-glue.
I convinced Mr. Porter that at this point, I really needed professional help. Um, for the walls. A professional to wash the walls.
So Ms. Professional cleaned and washed the walls, and told me that I had scrubbed too hard, and had taken the top layer of the plasterboard off in places, and that is why it is sticky. Oh, and that will be $150, please.
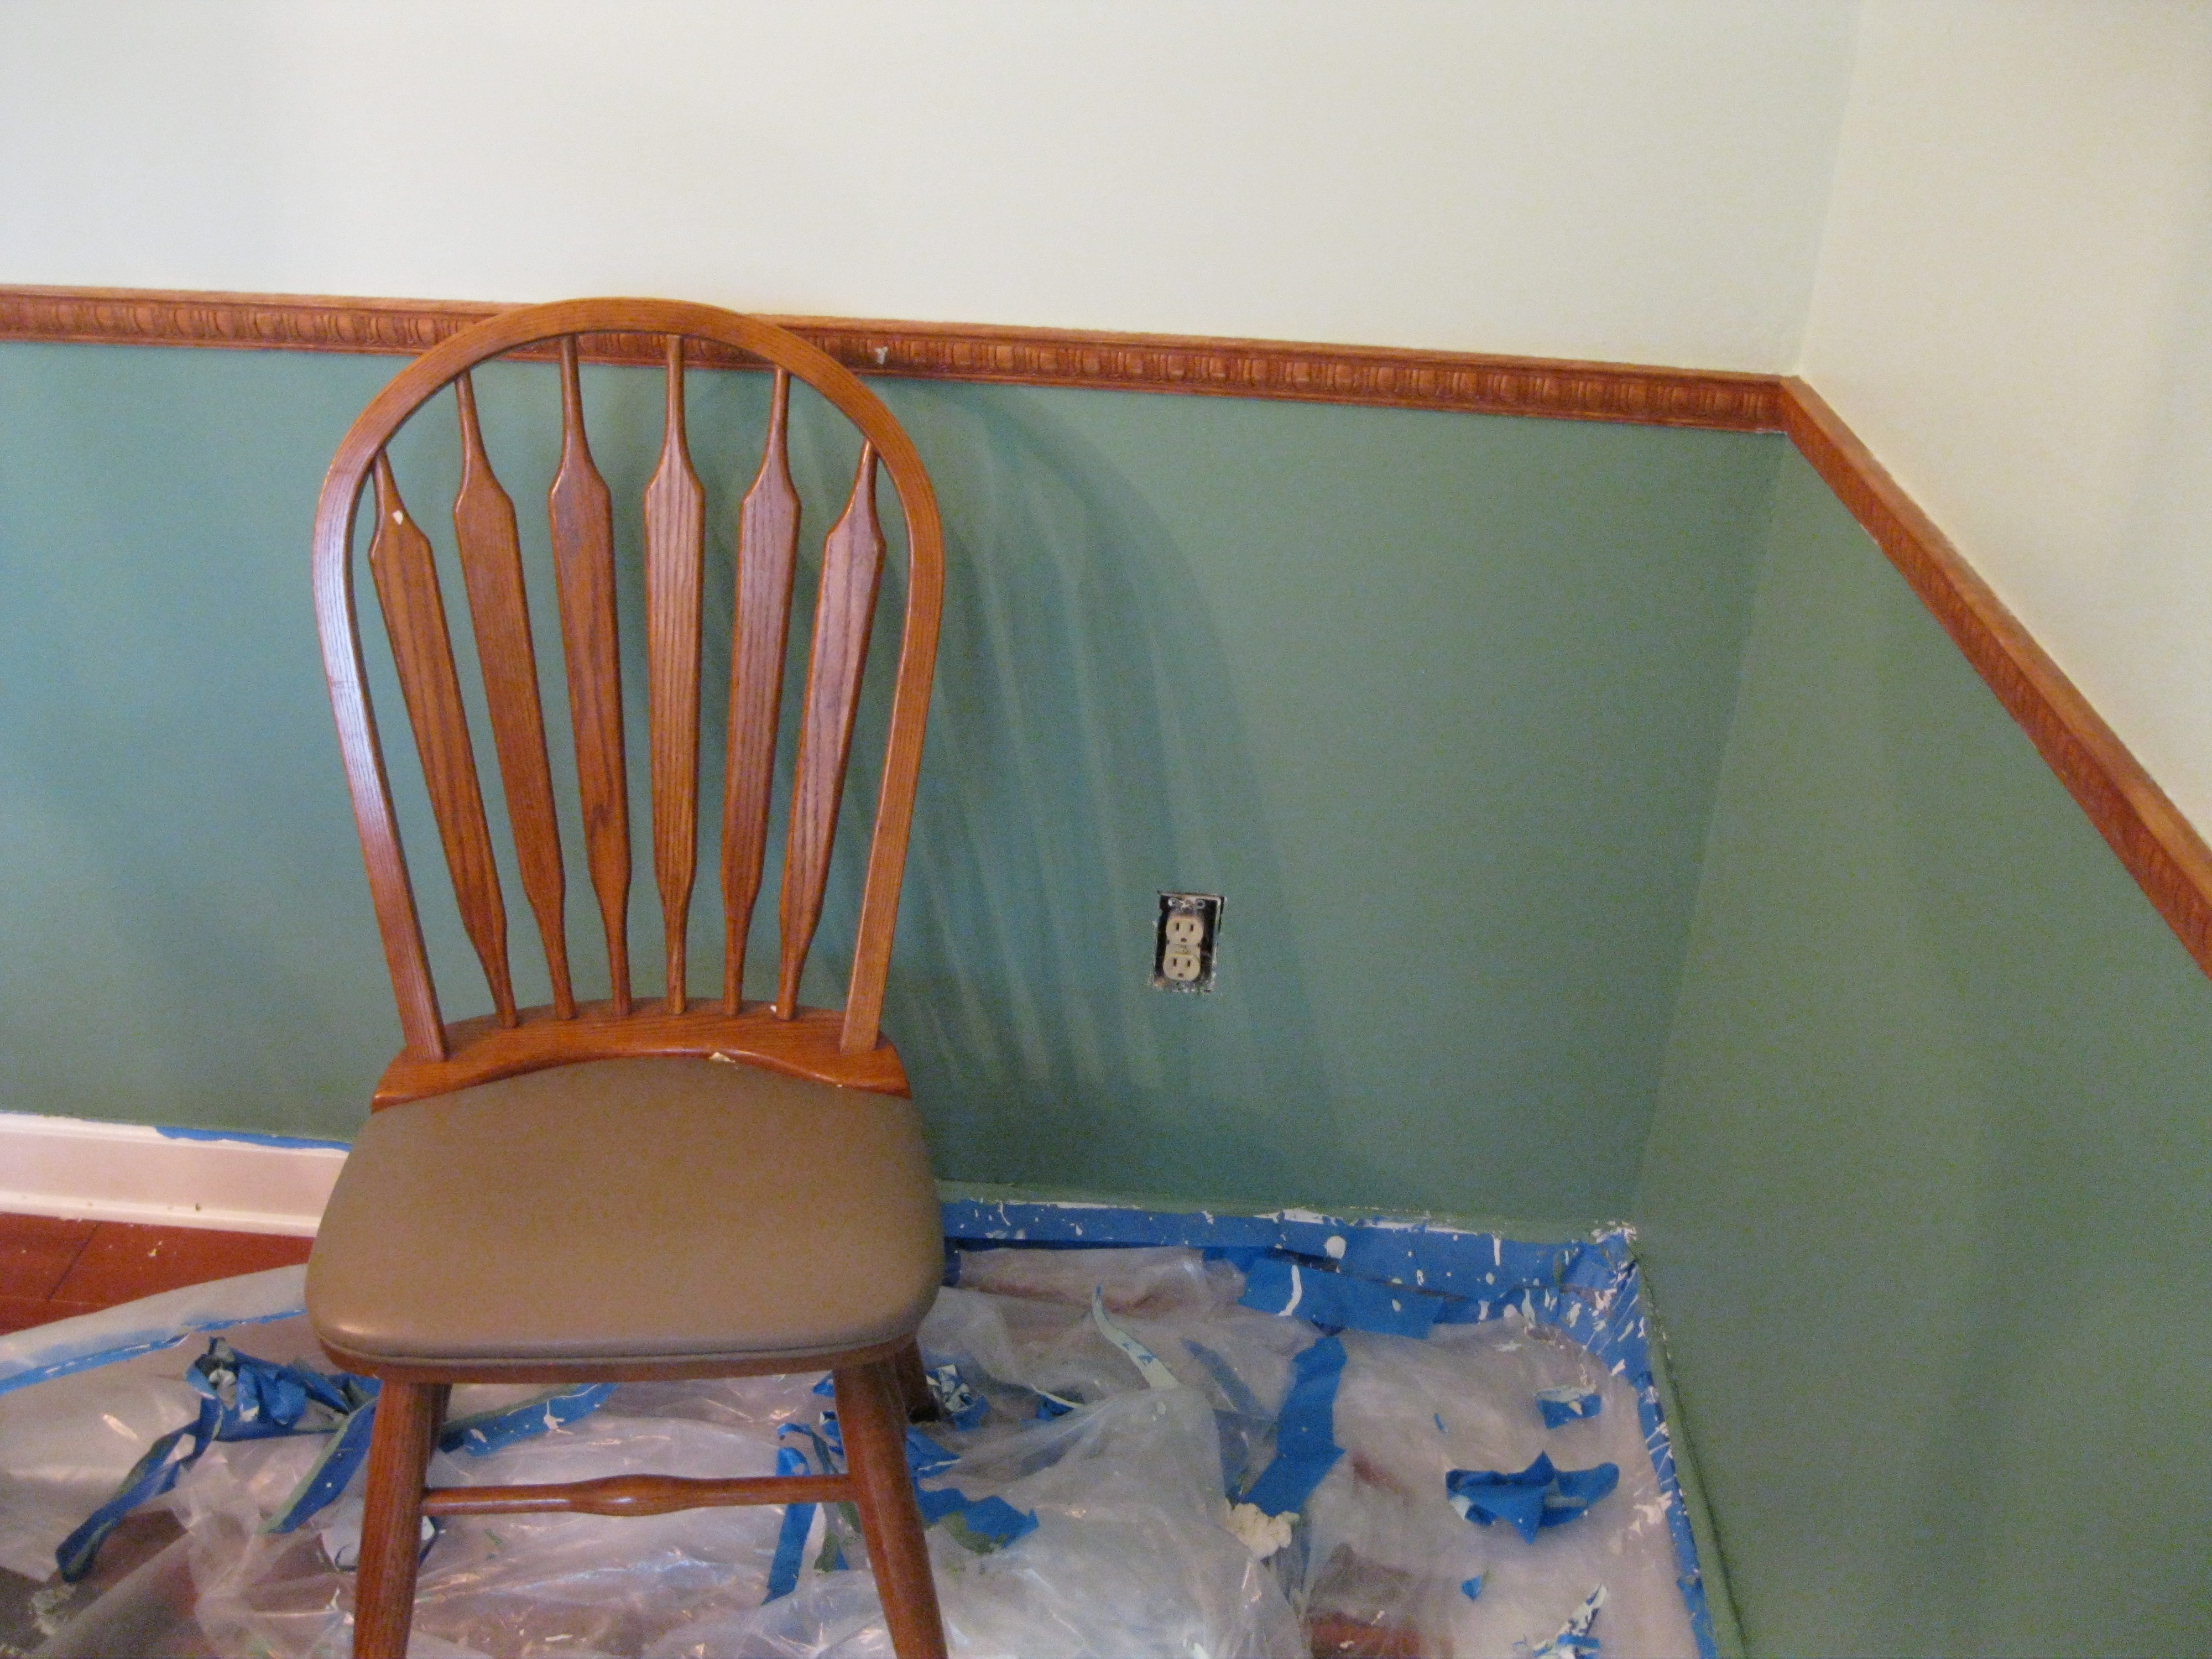
Next came the taping of the woodwork so the paint would not soak into it. Allegedly. (More on that later.) Also, plastic sheets for protecting the floor. Allegedly.
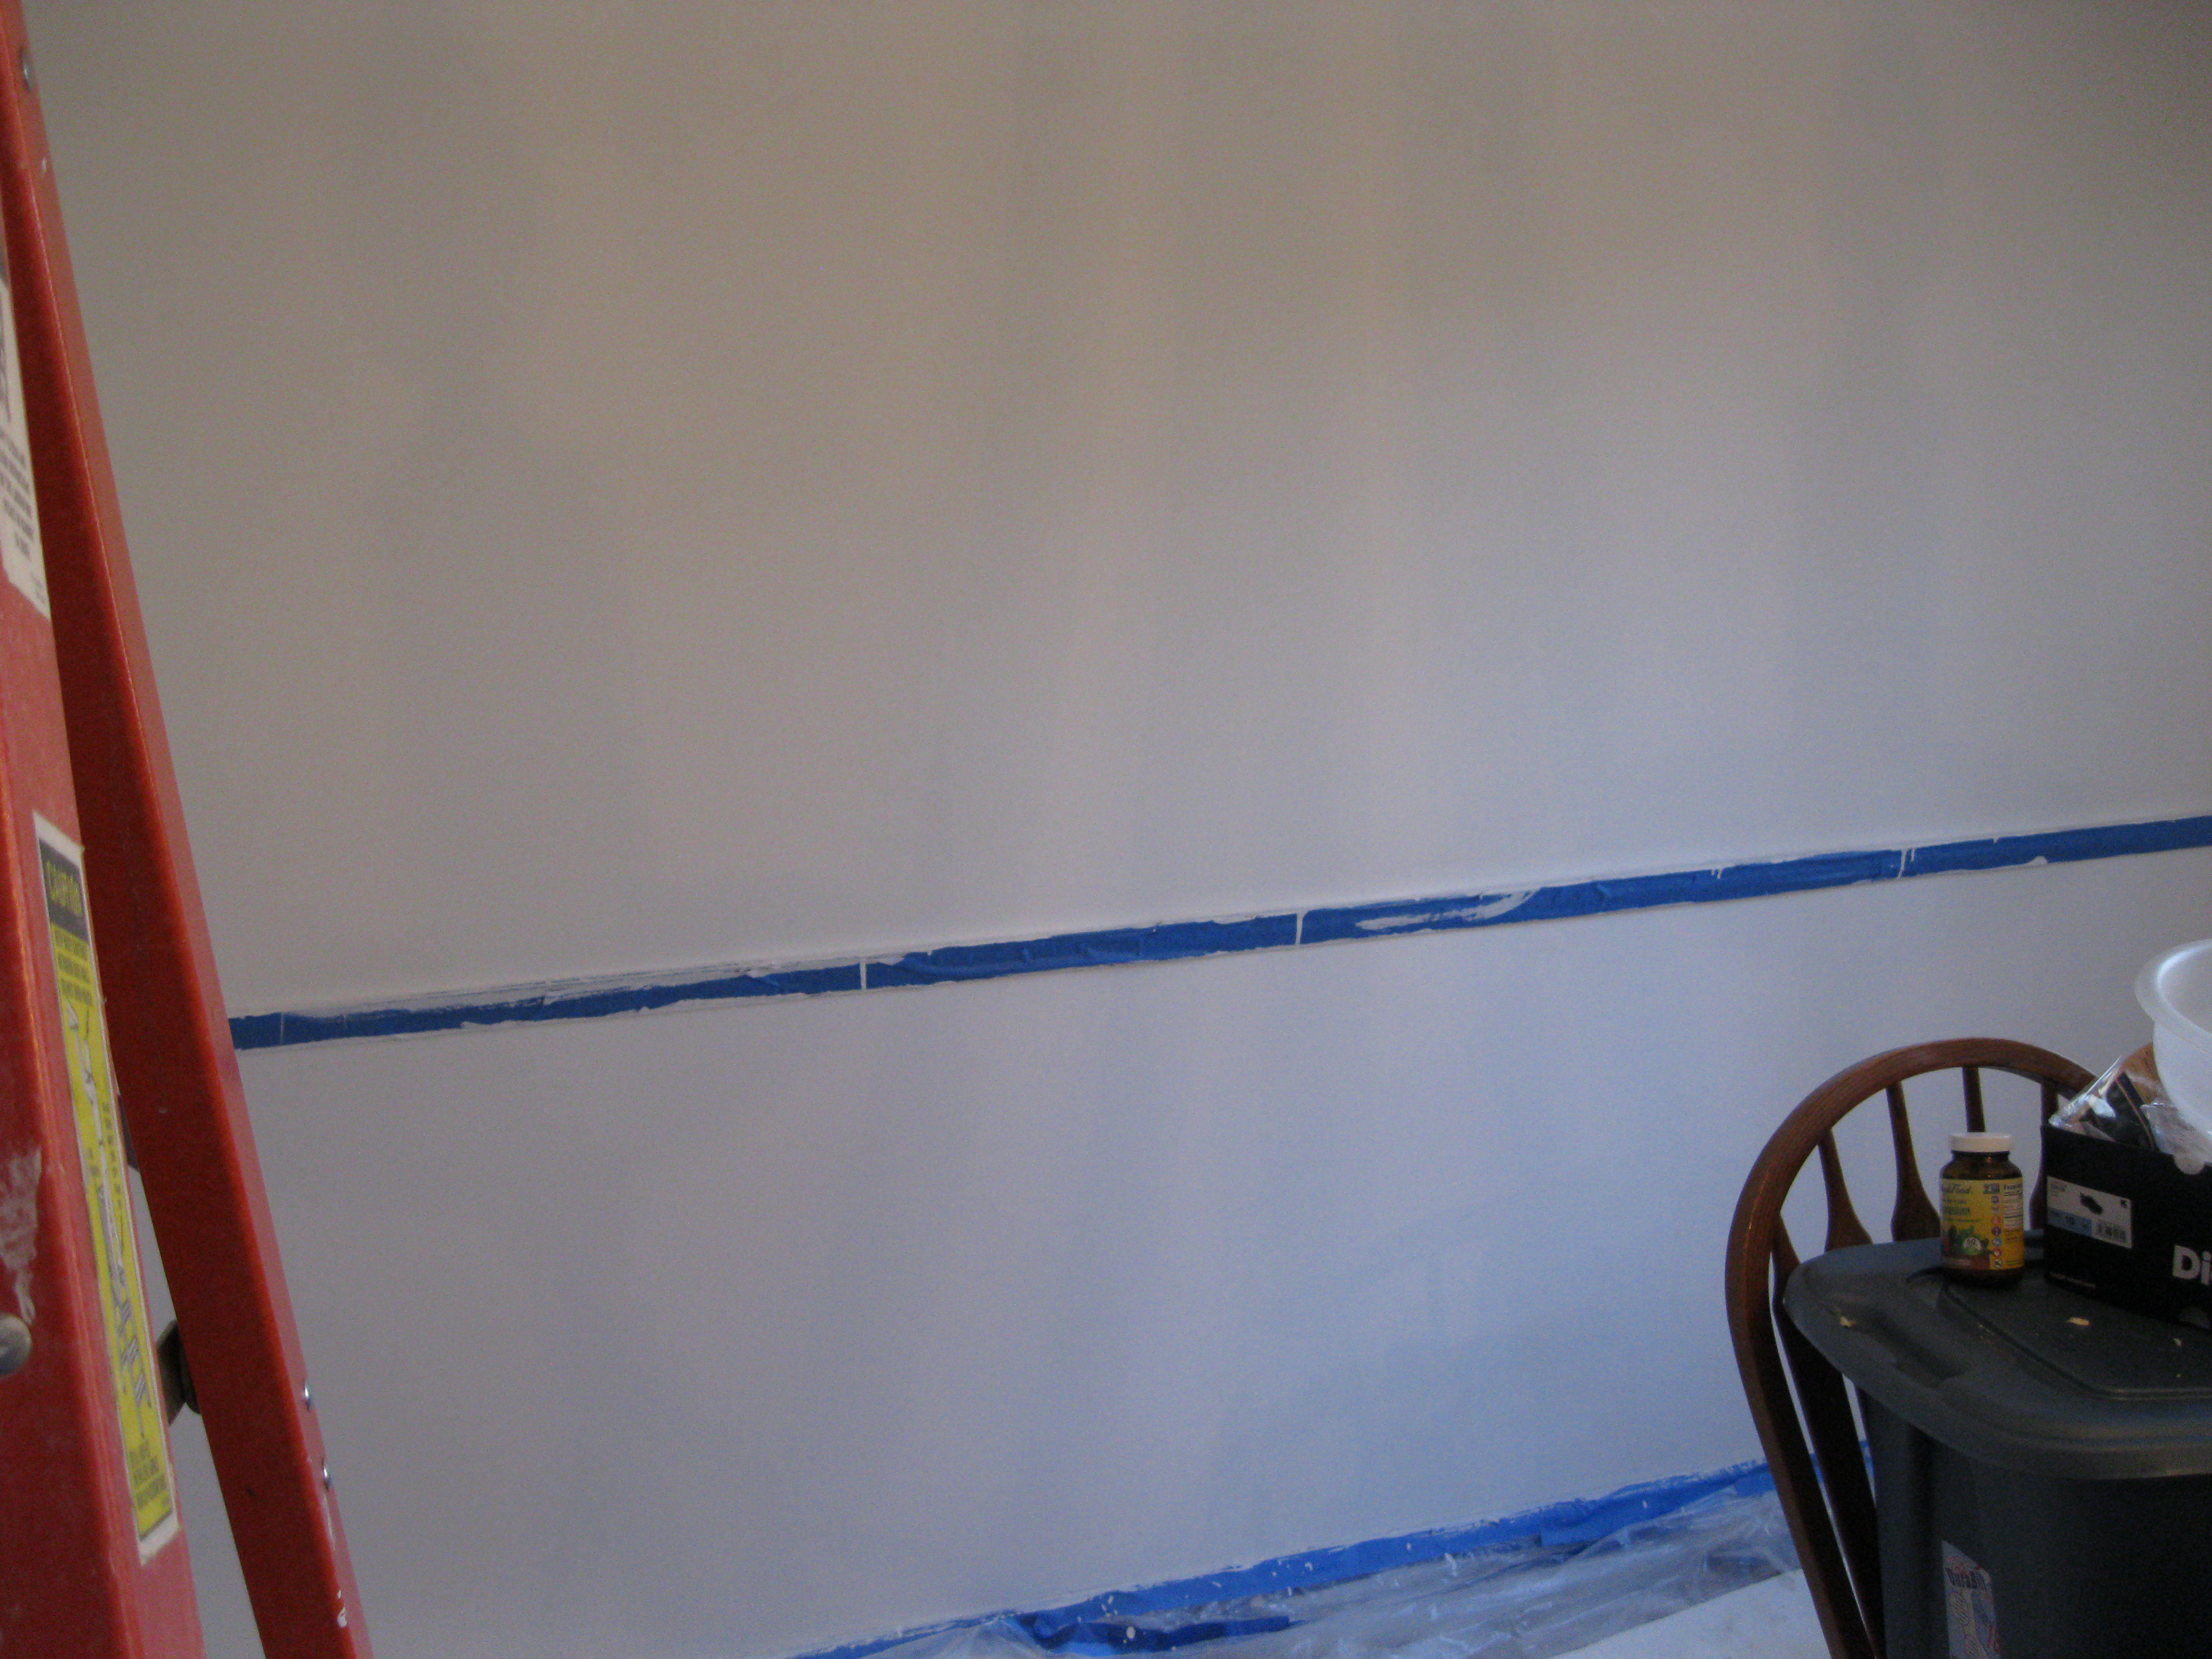
Then came two coats of primer. White walls looked better than the above mentioned wallpaper. I was tempted to quit at this point. White’s a color, right?
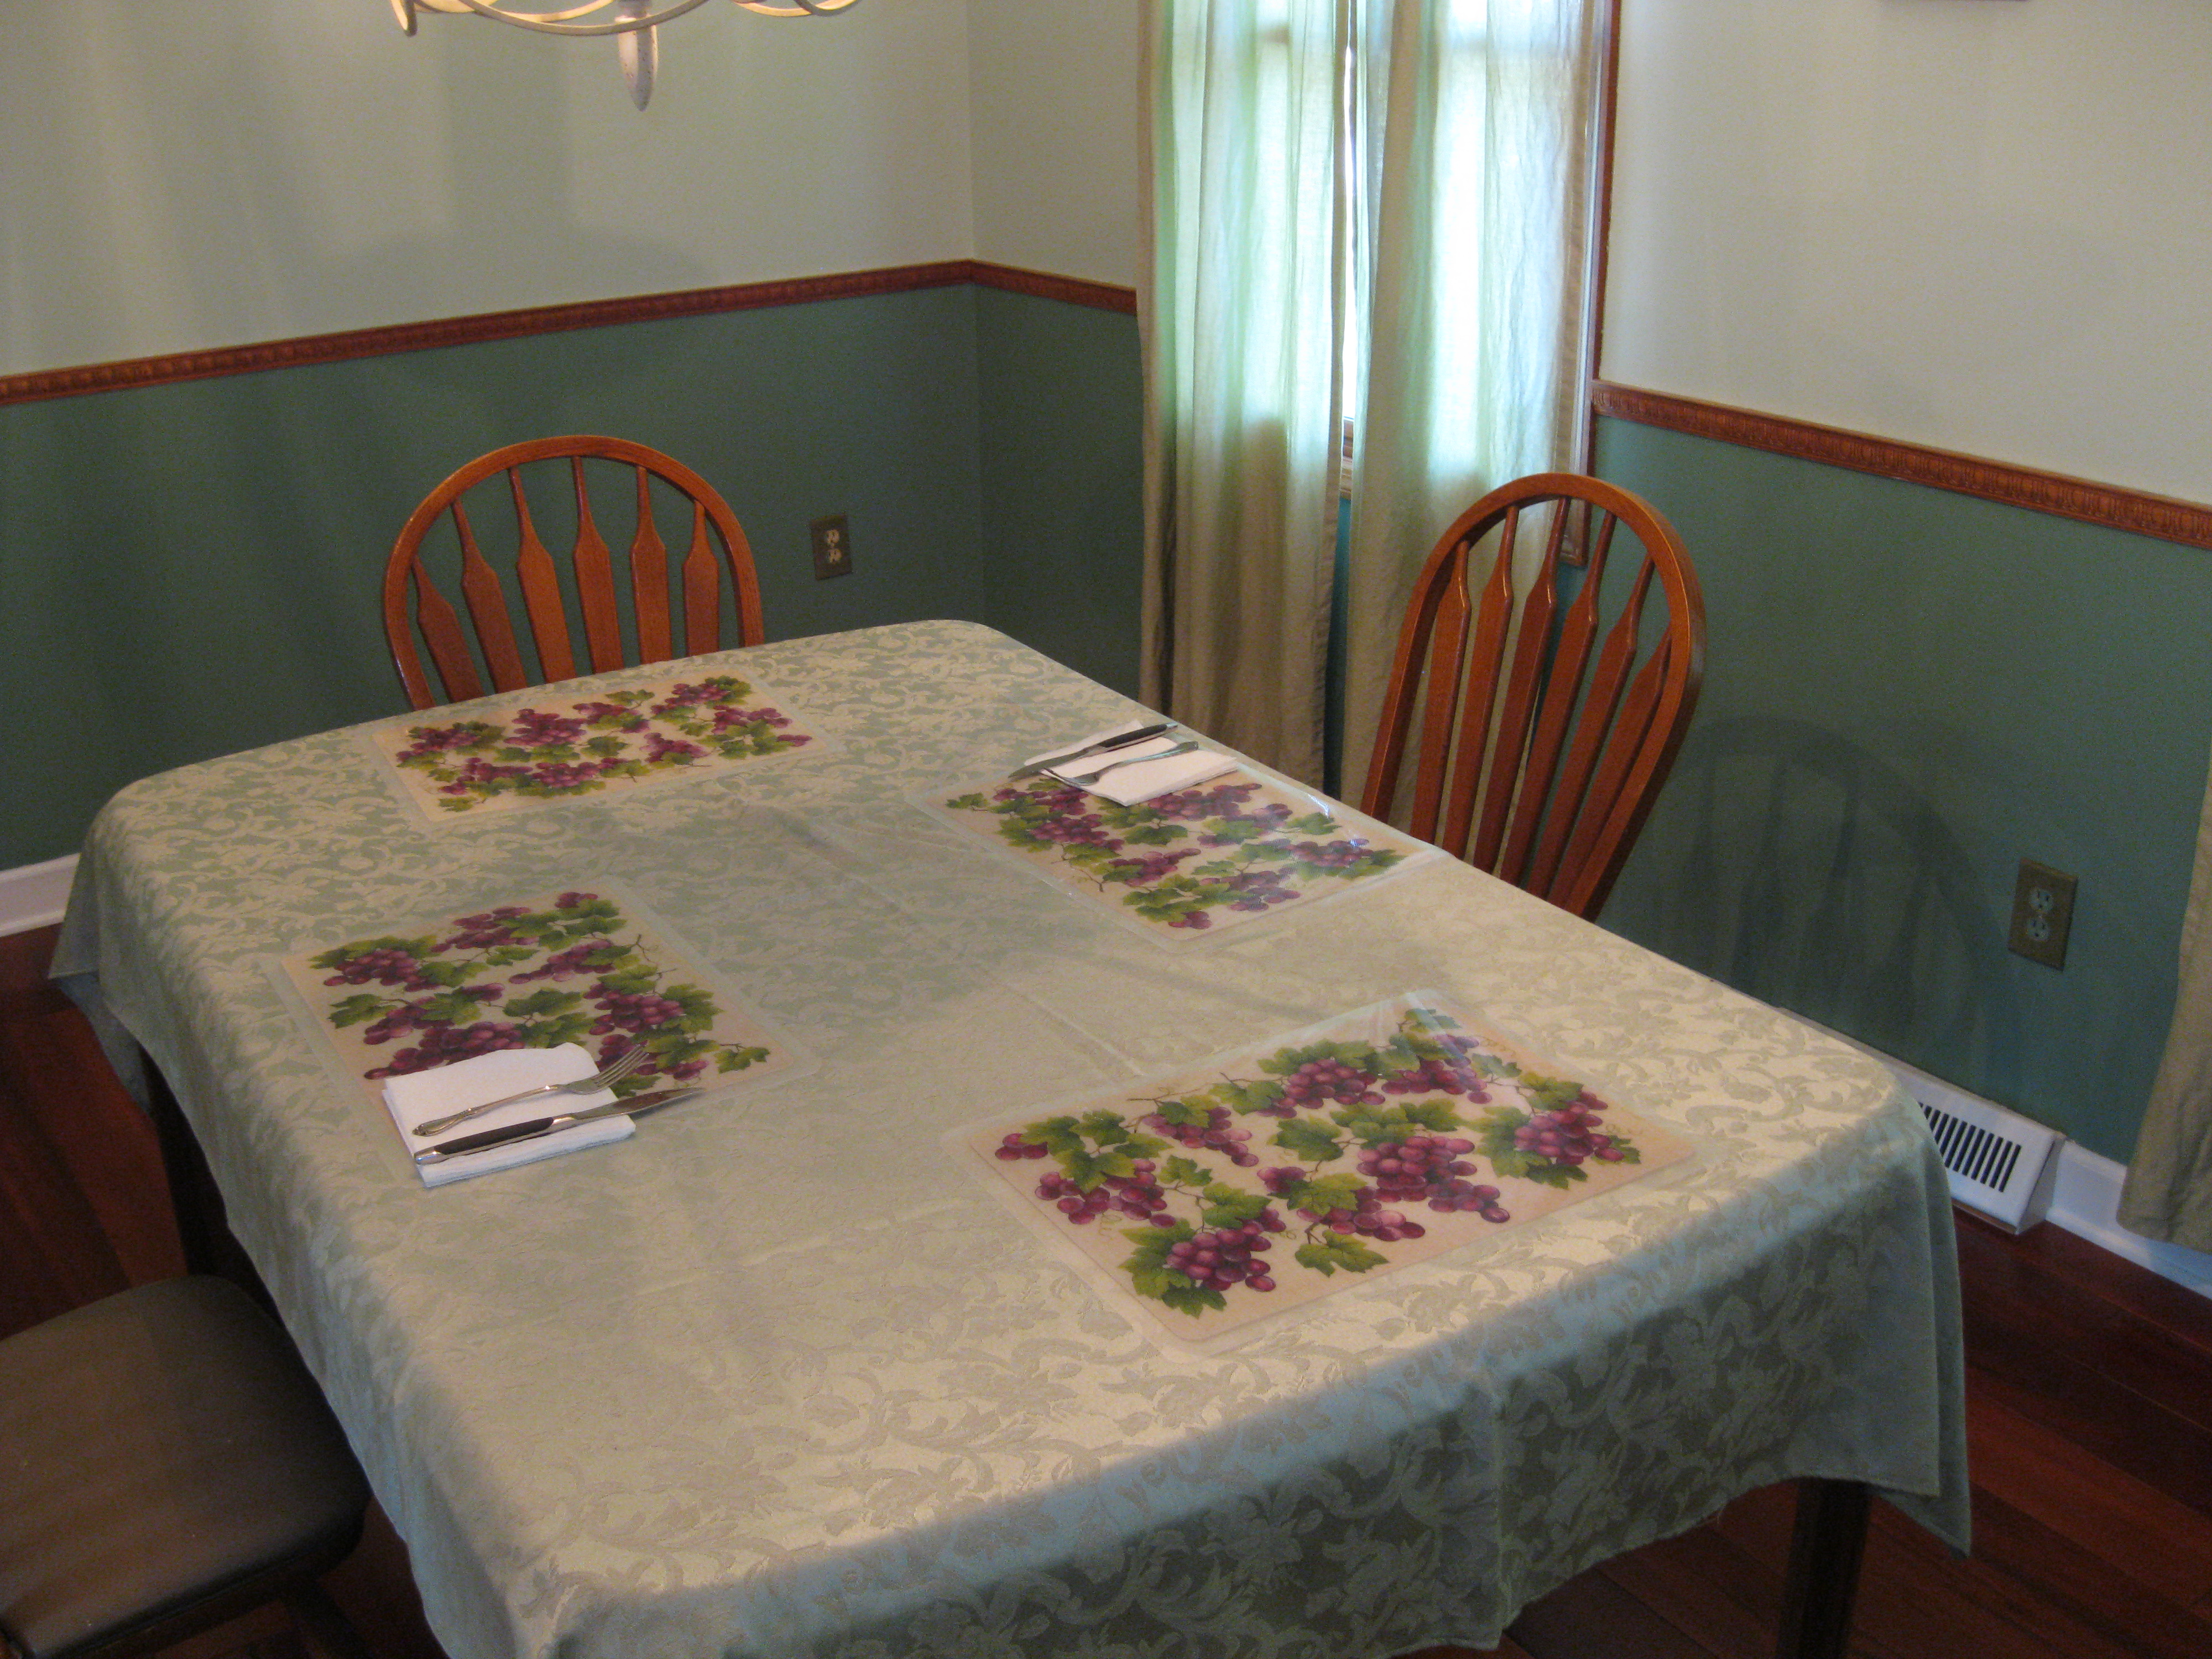
Okay, now it was time to pick the color of paint. I chose a light green for the top section, and a darker green for the bottom section. I showed them to Mr. Porter, who decided he would like to make his own decision. I handed him the color swatches.
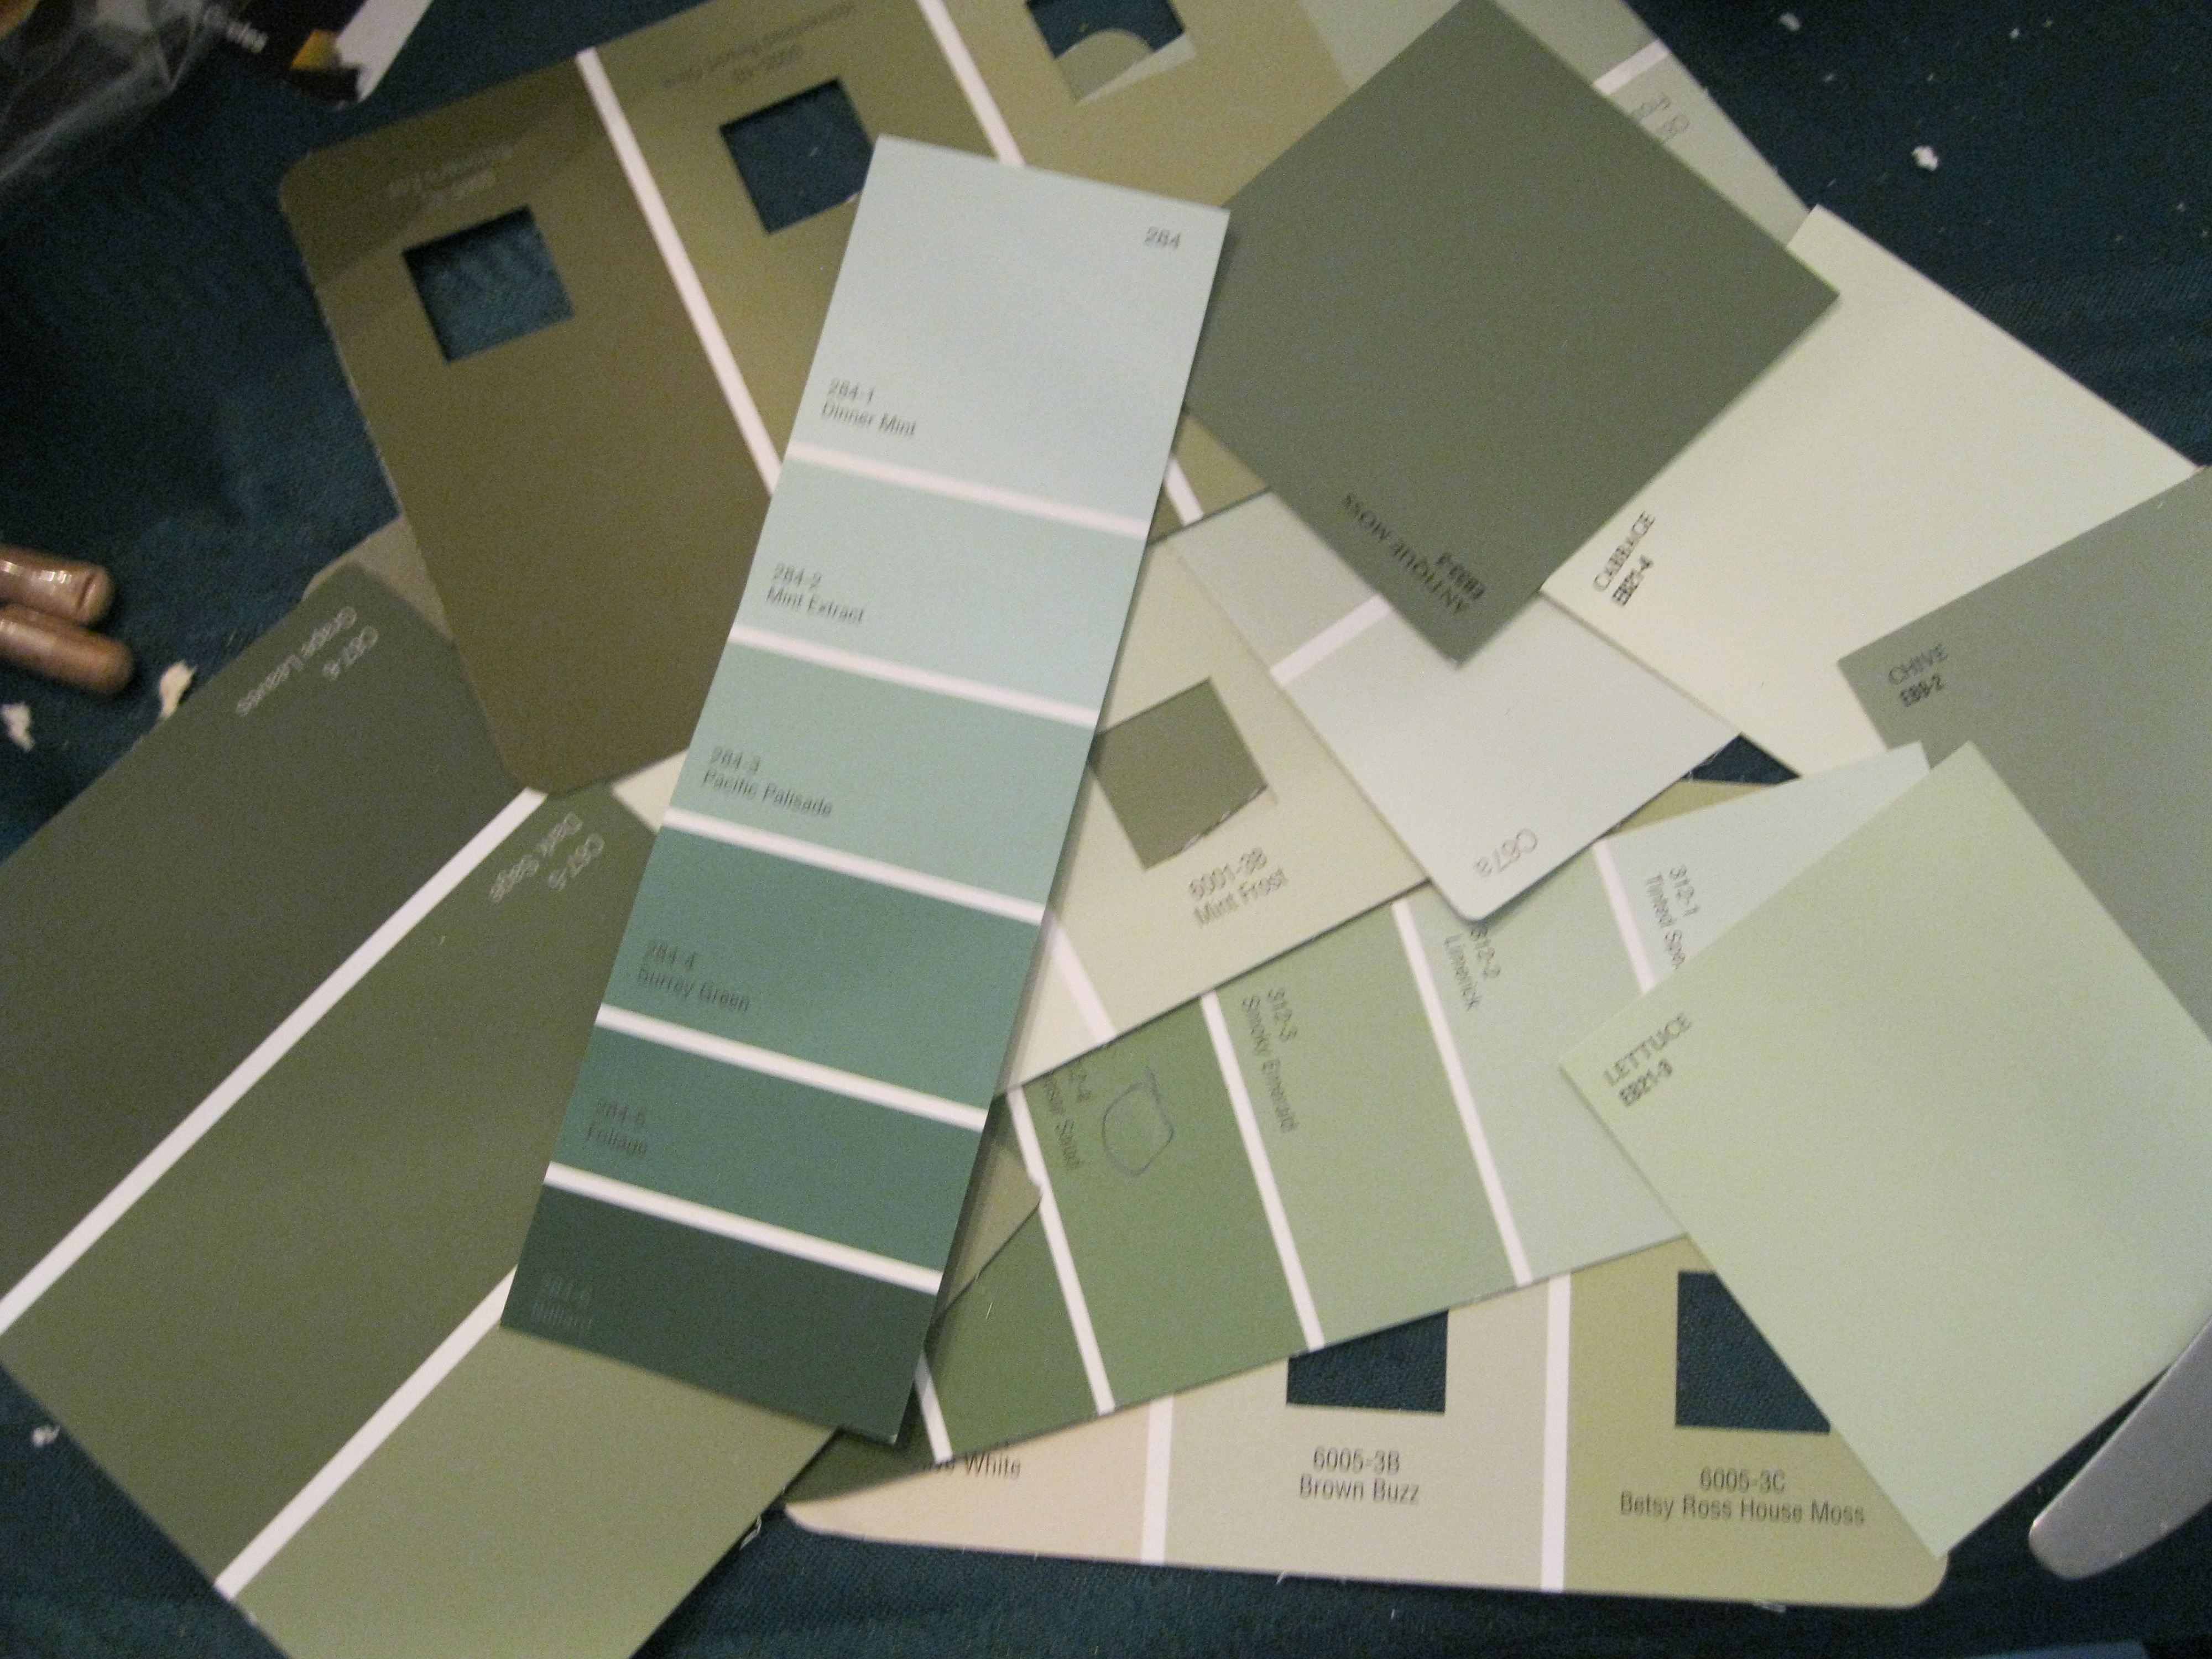
He chose colors just a tint different from the ones I chose. So good, we are in agreement. Forward, March!
I painted the top first, and surprised myself that I got one coat finished in an afternoon. I then painted the bottom. Next day, repeat.

I did it. I painted the room.
Oh, but it’s not over yet. I have to remove the tape.
Although I did go around the areas with a sharp edge, so that the tape would come off, there were still a few places where the paint came off with the tape. Yikes, now I have to touch up those spots.
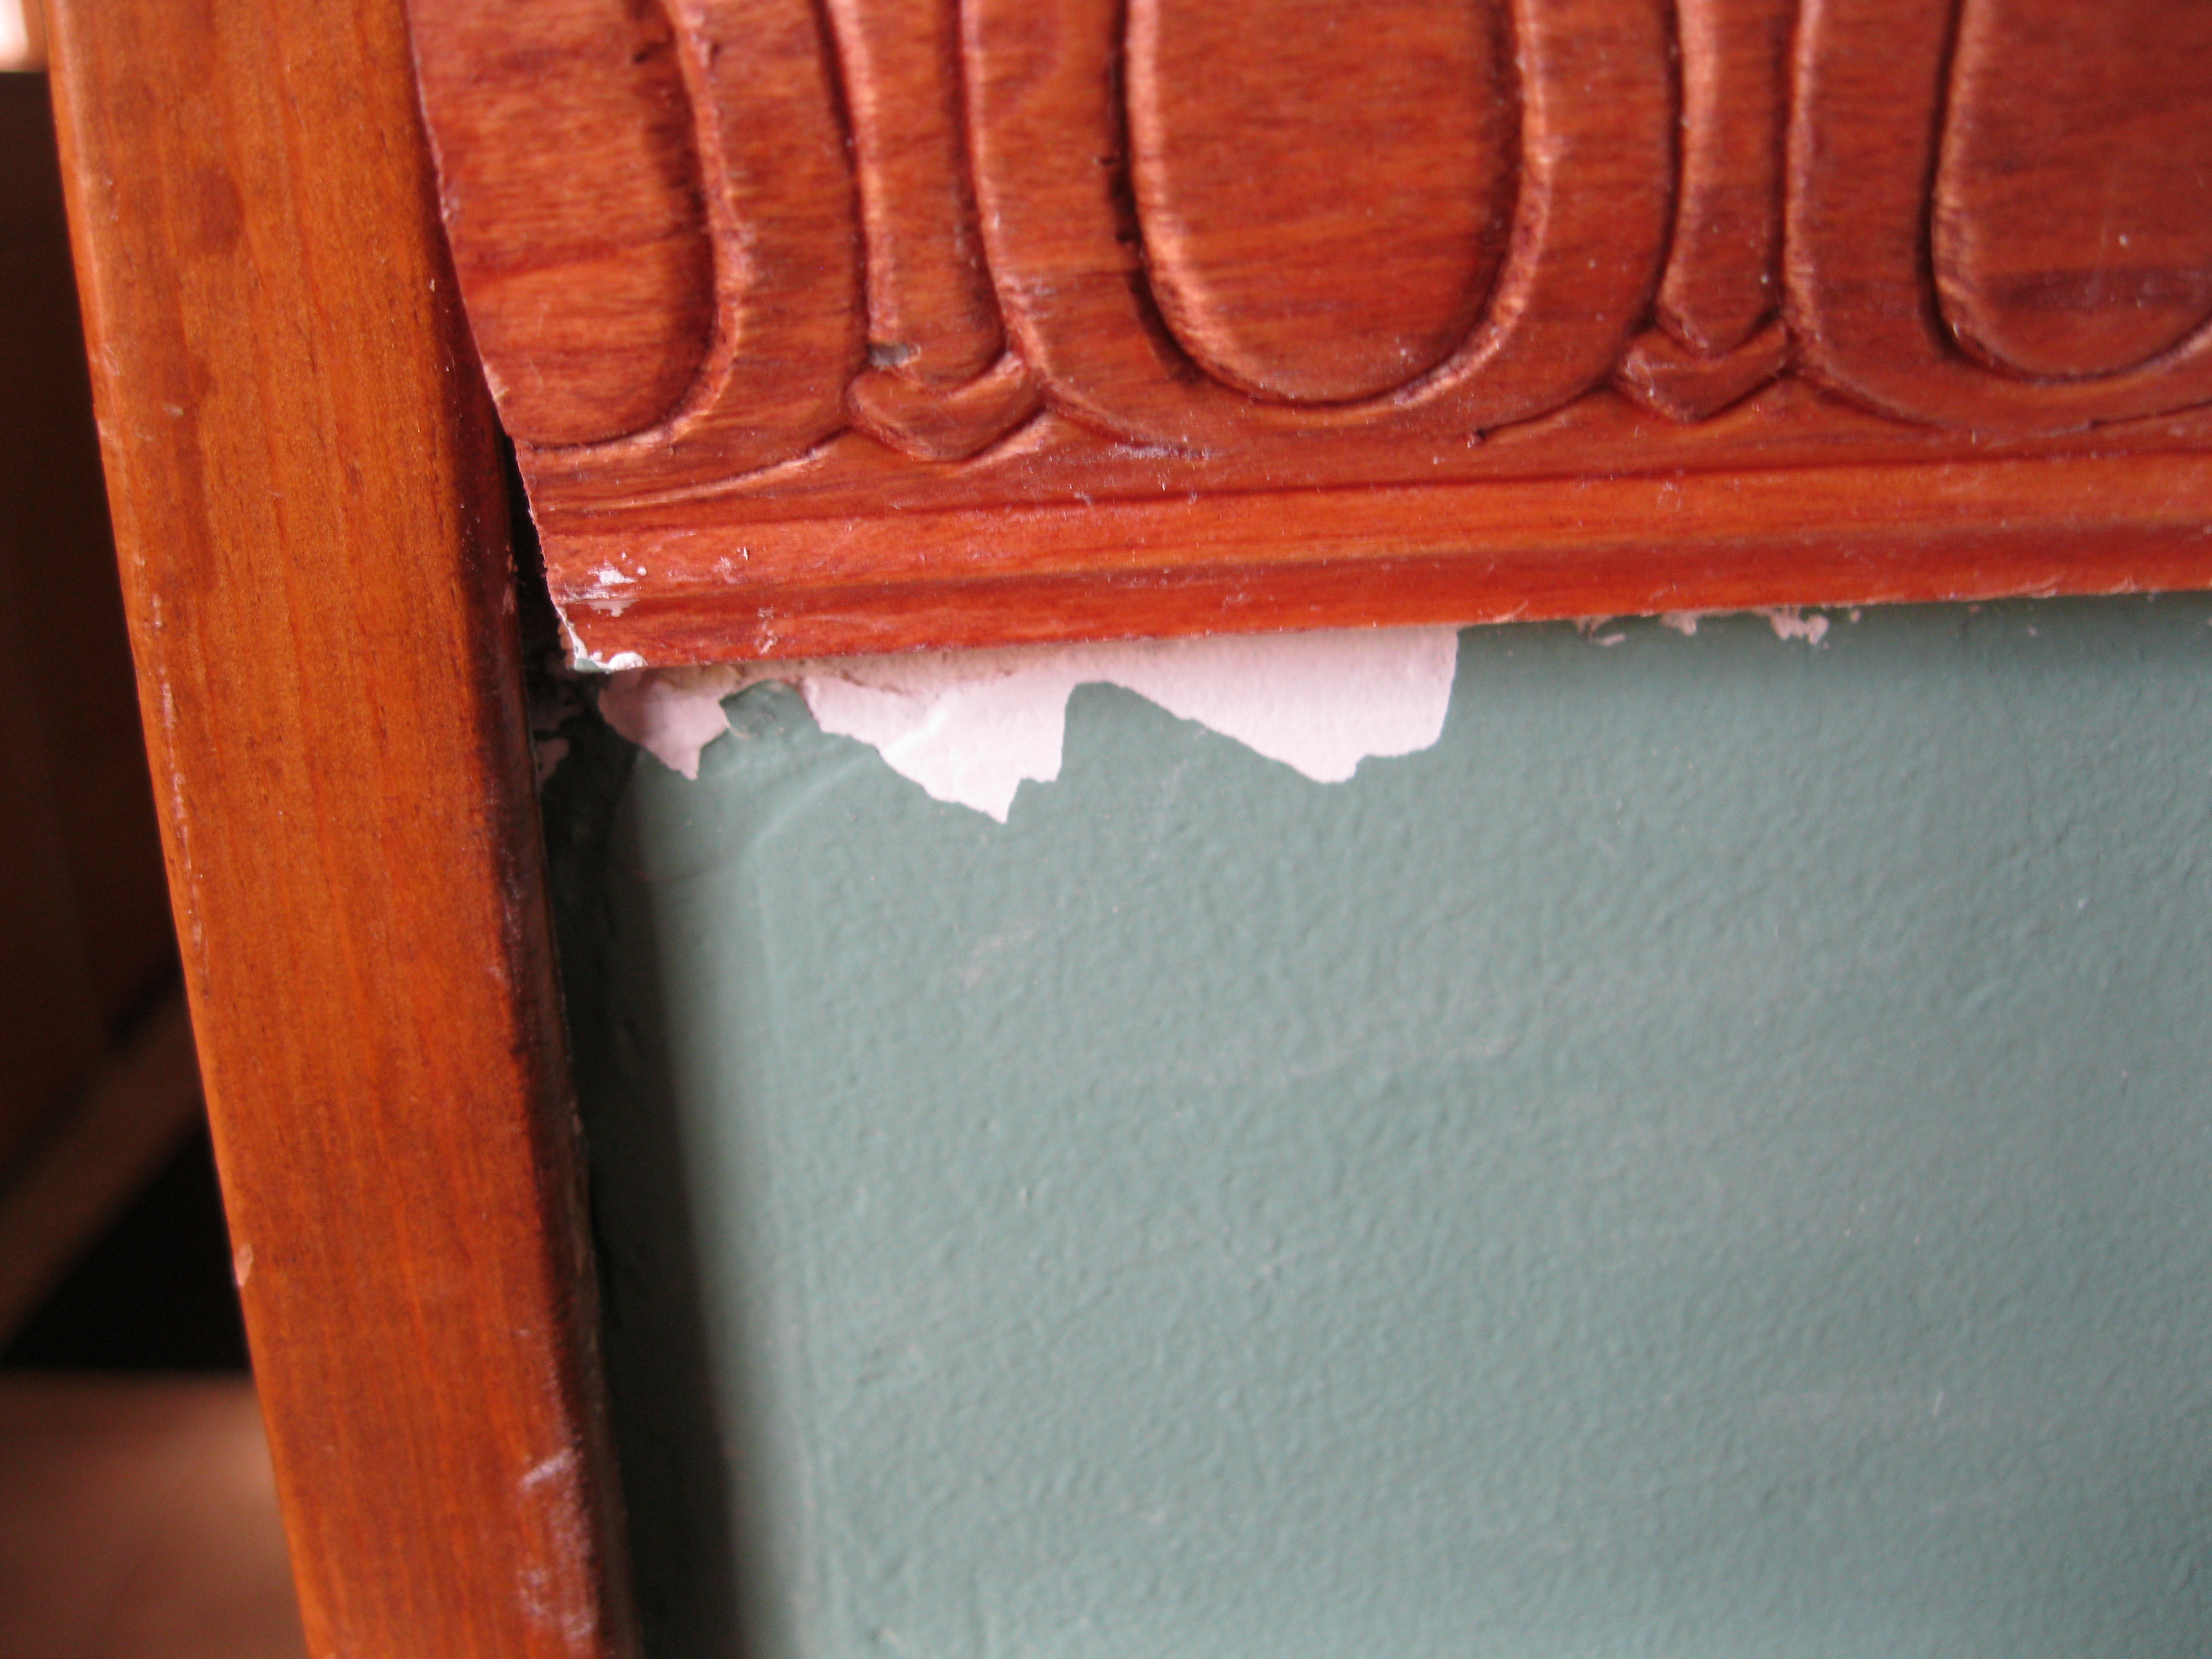
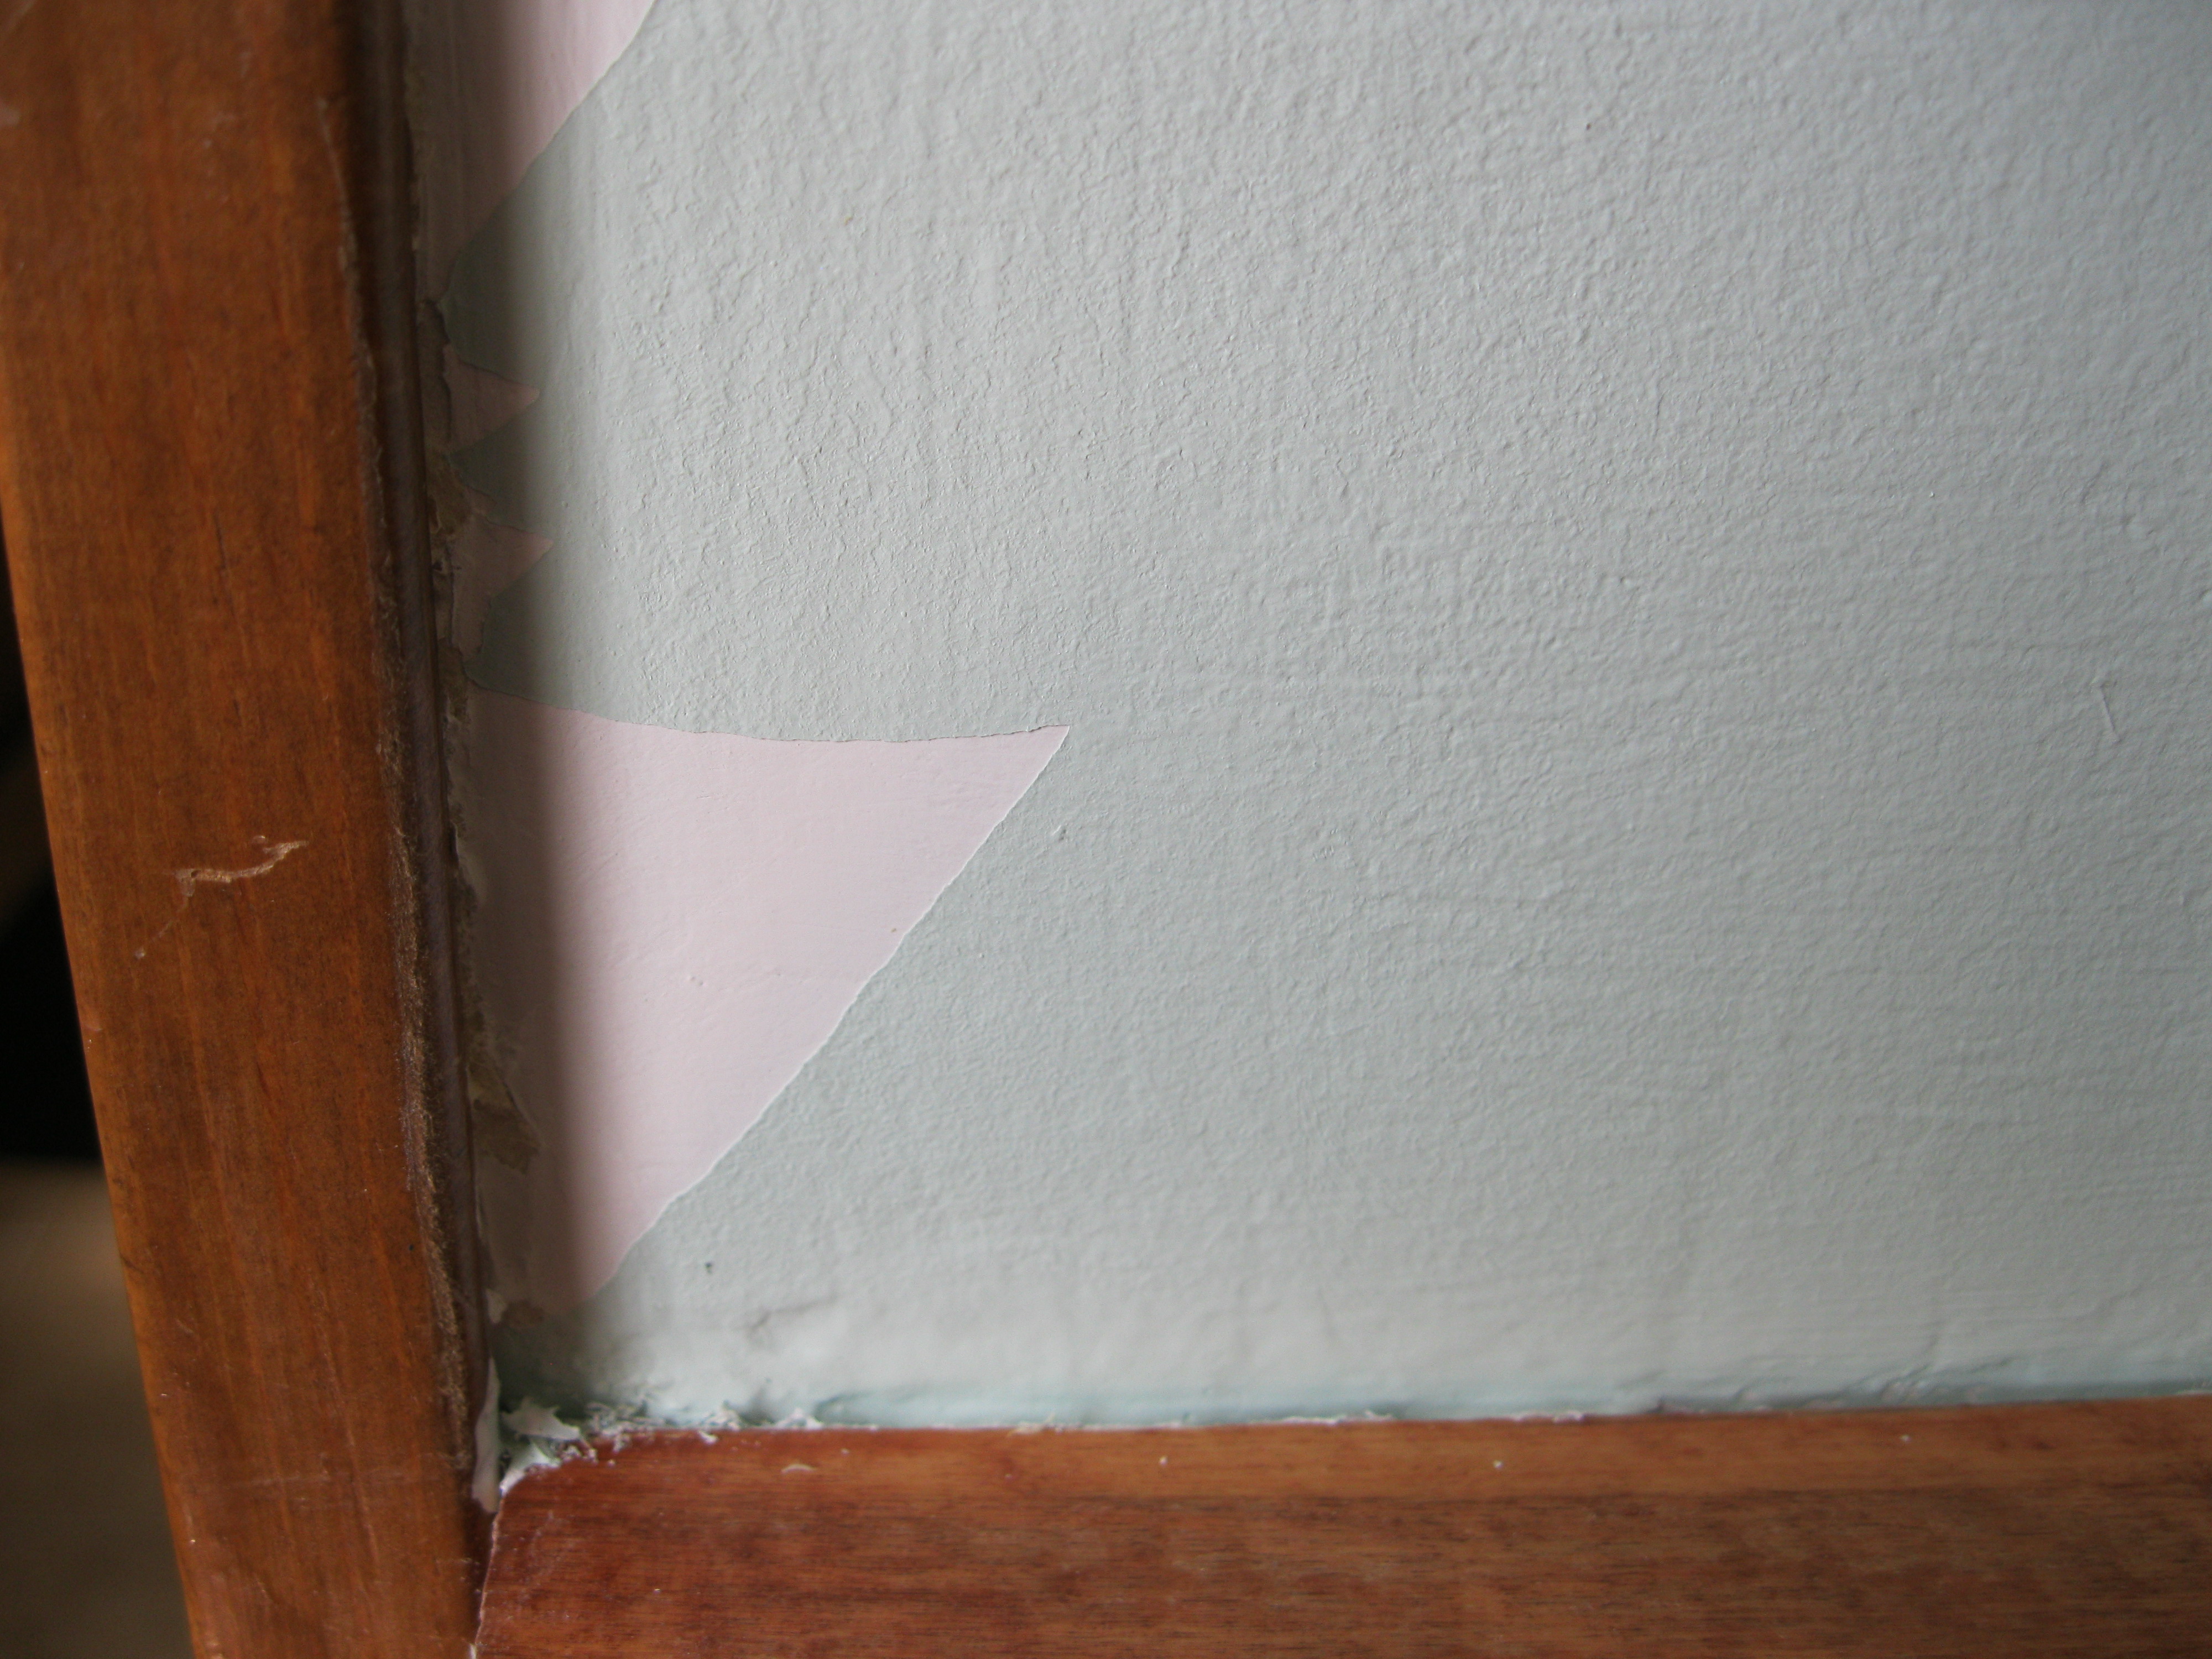
There were also places were the paint ran past the tape, and I will have to scrape it with a utensil, er, butter knife.

I spent a day cleaning up the plastic which protected the floors, sweeping the old wallpaper, and vacuuming the dust particles.
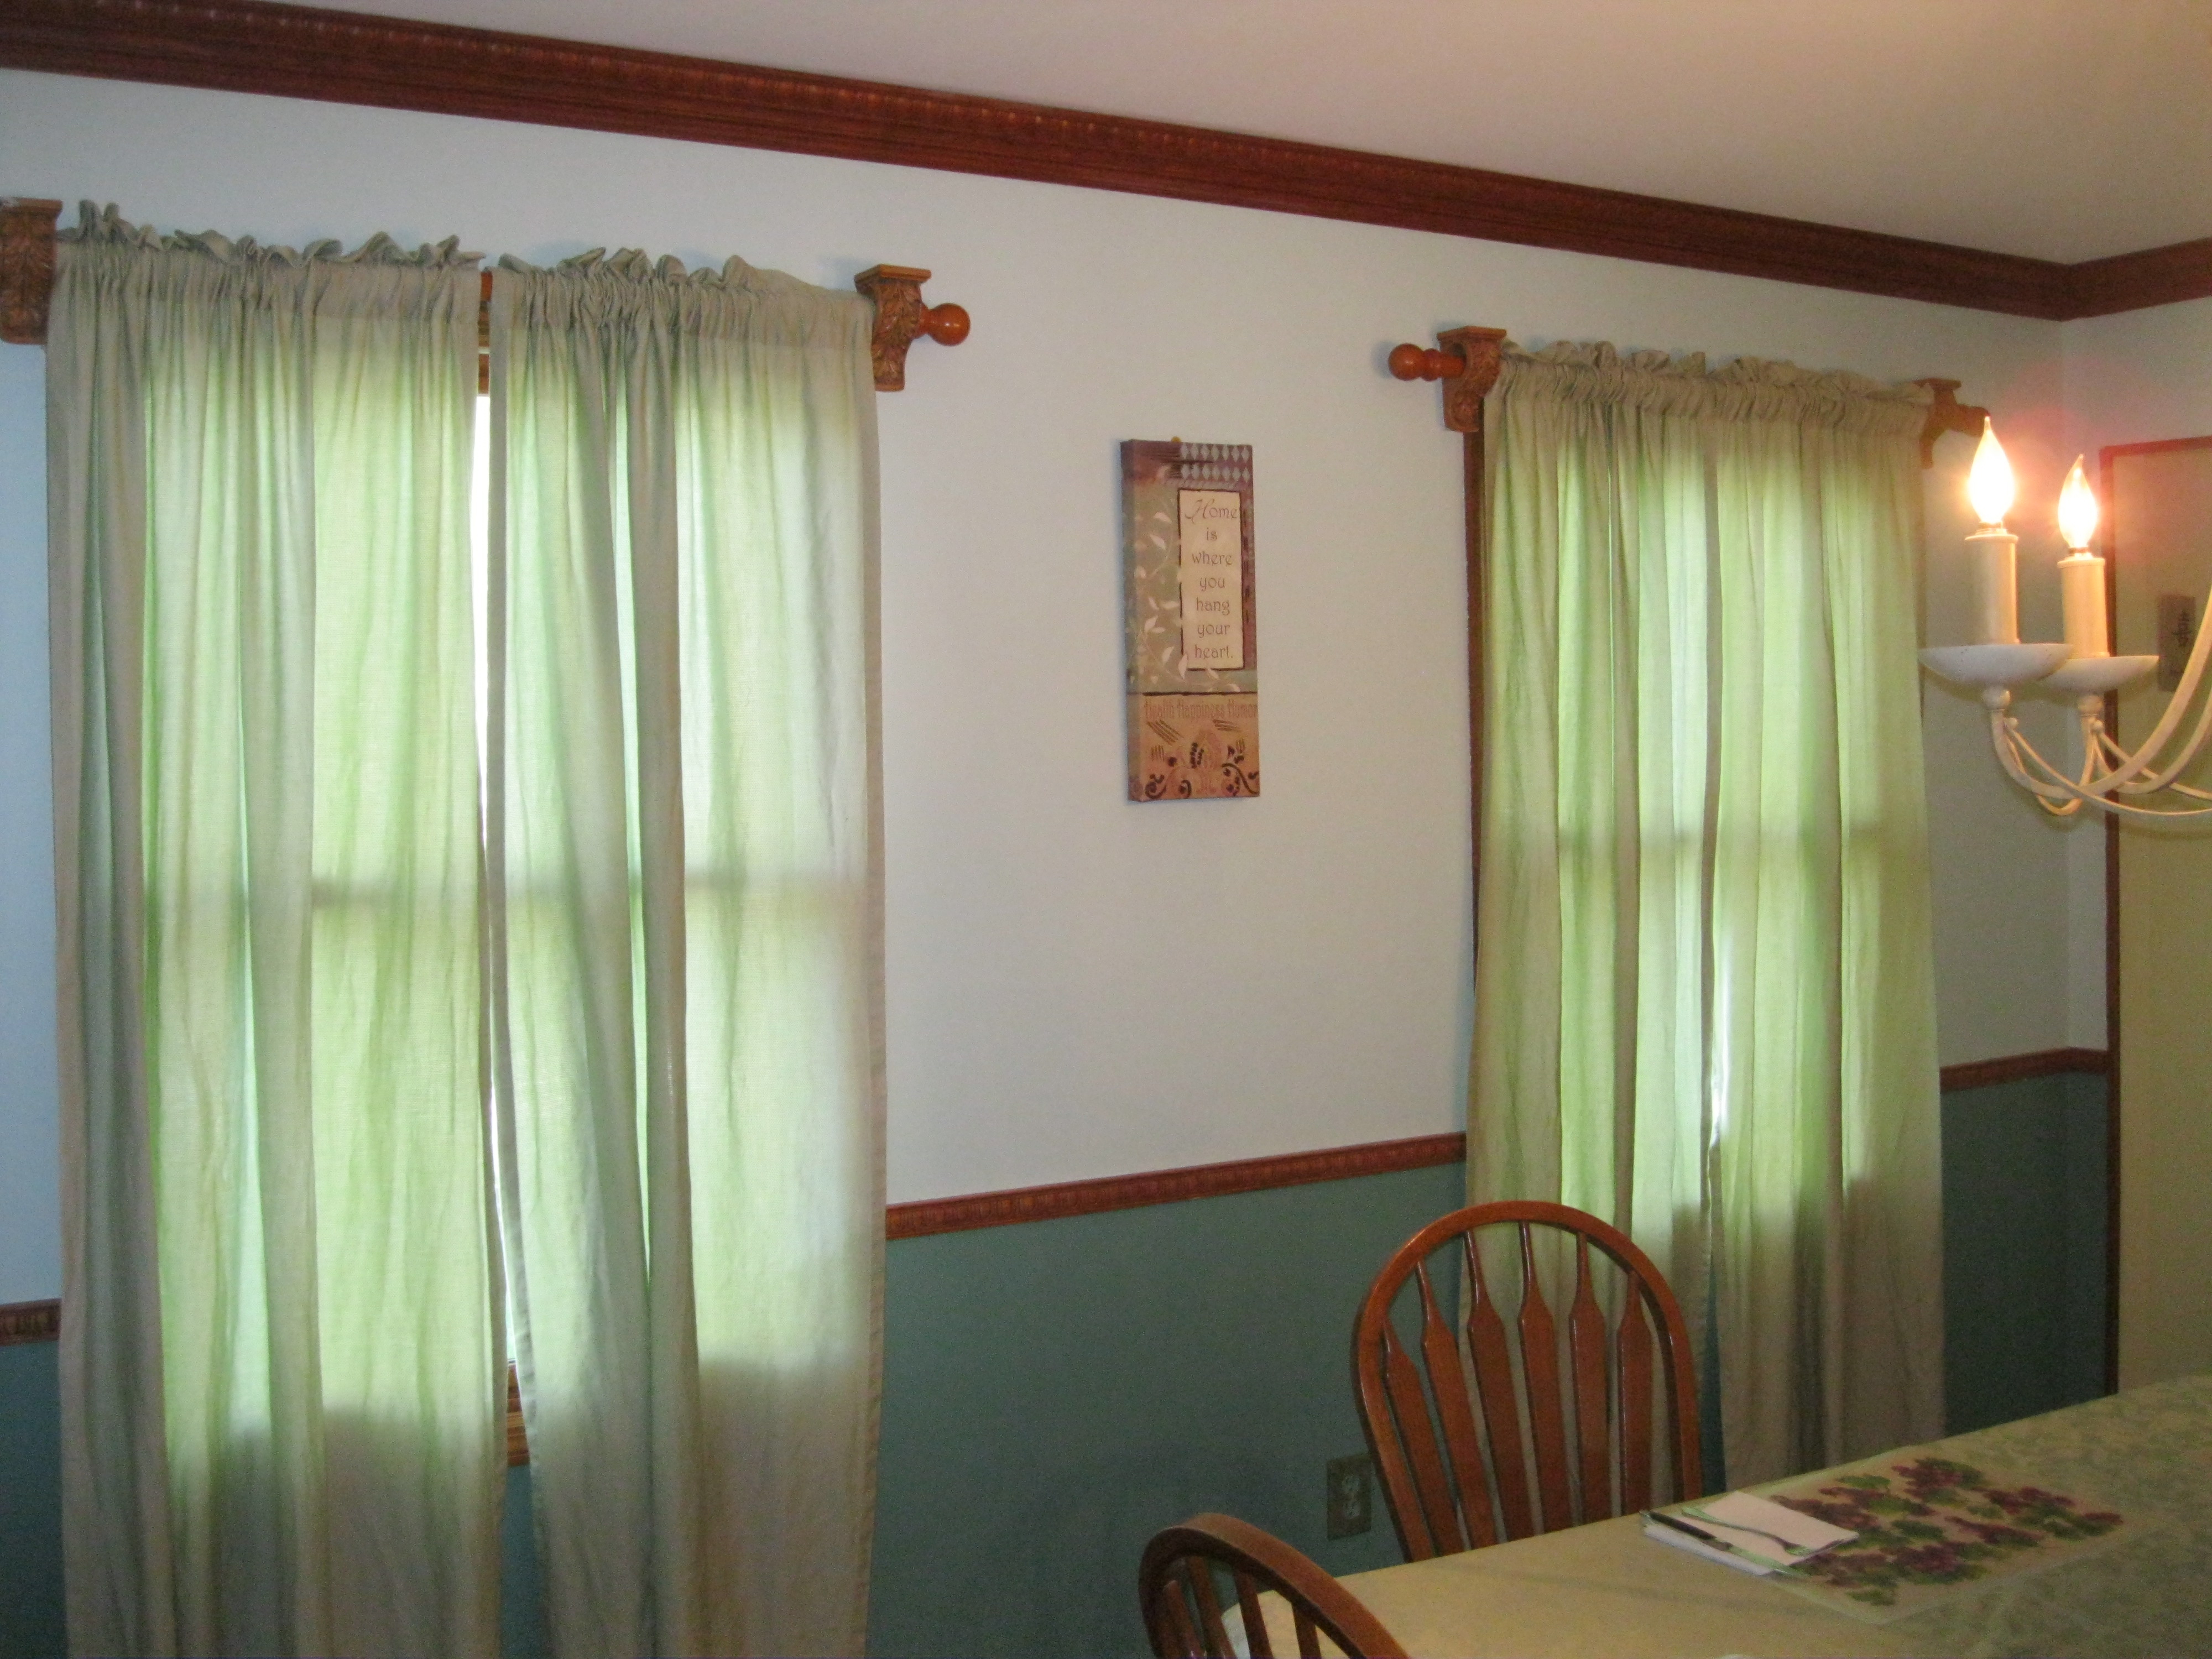
So now the plastic is gone, the tape is gone, and I hung the curtains back up. I gave Mr. Porter strict instructions not to put any newspapers, bills, junk mail, bank statements or the like in the dining room. He shyly asked if it was okay to put the grandfather clock in there. What a nice guy.
So here are some pics of the new improved dining room. I will now be able to have friends over again to visit.
But don’t ask to see the other rooms…. 😉
And so ends The Great Wallpaper Removal Project of 2014.

Removing wall paper is one of the worst jobs anyone could think up.
LikeLike
I agree cocoabean! It takes 3x longer than I thought. I understand why “in the old days” they used to just put the new wallpaper over top of the old wallpaper. I see the wisdom in that.
LikeLike
Somehow that $560 doesn’t sound so high any more. Great job though and you can be proud that you did it yourself.
LikeLike
Thanks 67, I agree $560 doesn’t sound like so much, especially since they could have done it in 2 days, instead of my three months.
LikeLike
Great job Sue! I do have 2 words for you for the next similar project though…textured paint. 🙂
LikeLike
Hi Theresa, I stayed away from textured paint–although I like it, I am going with what is more “sellable” according to the Realtors. Neutral, neutral, neutral. My old house DID have textured walls and I loved them (one room was painted dark orange, a color called “Mojave Sunset” and I decorated it with Southwestern decor. Loved it.
LikeLike
I wanted old-fashioned wallpaper but my husband wisely put his foot down knowing that in a few years I’d be tired of it. Bravo for sticking with the project!
LikeLike
Thanks Adrienne. It was very difficult…I took a few days off here and there and thought that I would NEVER finish!! The trend I see now on the HGTV shows is to wallpaper ONE wall, as an “accent wall” so then I guess you only have one wall to change when you want something different. I thought the former owners of my house did a nice job on the room and everyone (my friends and family, not the realtors!) liked it. We liked it and bought the house anyway. I thought we could have just put up a few large pictures of wine bottles, and wine lovers would like the room. At least now it’s done. (Well I still do need to do the touch-ups…I bought the small paintbrushes but haven’t done it yet.)
LikeLike
I don’t know if I ever mentioned that when we built our house we did A LOT of the interior work ourselves–grueling!! LOL. My husband knew what to do and I acted as helper. We put down wood floors throughout the house, painted every room, finished the attic (900 sq ft) etc. I learned how to drywall, insulate, use tools–but the worst was when we decided to stain the basement cement floor. It looked easy in the videos. We’d already painted what would be a bedroom a beautiful cream yellow–bad move. The brown stain (supposed to give a marbled stone look) didn’t take because the cement had been treated or something. So we had to take it up with a wet vac polishing machine that splattered all over the walls. I almost died! I had major tantrums then. My husband was a saint 🙂 Your room looks great–I liked the before and the after, but I guess now it looks more modern. Great job. And there’s no hint that you had any tantrums!
LikeLike
I actually didn’t have any trantrums, just a meltdown or two when I spent the day in bed because it was so overwhelming I couldn’t move. I guess I tend to internalize… Anyway, sorry to hear about your basement floor! Ours was painted I’m guessing when they built the house 30-some years ago. One person though it was tile! I wish. I have thought about re-painting it, as it is cracked and worn in places, but I think that ship has sailed as far as having the energy to do it!
How did your basement floor
turn out in the end?
LikeLike
We ended up painting it. It’s fine 🙂
LikeLike
Great job! Looks beautiful! So much work involved and you got to save some dough. The worst part about painting a room for me is to work on the ceiling. No matter what I do when it comes to scraping the old paint off and painting it, I get paint chips all over me, and my arms get so tired fast. But wallpaper, I’ve never messed with before. Ya know, that old wallpaper that got removed really did look pretty, though.
LikeLike
I liked the wallpaper, although it sometimes looked “busy” in the pictures, in the “LIVE” 🙂 room it looked nice. It was quite a project. I did hire guys to do the ceilings in the other rooms; they were able to finish in one day and I consider it money well spent. It was just too difficult for me to do.
LikeLike
We tried removing a paper border a few yrs ago in our bedroom…..we had a heck of a time with the spray paper remover. Vowed to never again use!!! Last year we painted our dining room, and decided to “just paint over” a border that was halfway down on the walls. After the first coat of paint on the border….it looked bubbly….needless to say, the border simply peeled completely off. We just had to paint where the border was an additional 2 coats. Even so, it was by far easier that the Wallpaper remover spray.!
Your room looks beautiful and you did an awesome job!!!
LikeLike
Thanks Countrypkin. I am happy with how the room came out. Sorry to hear of your difficult time with the border….they usually peel off pretty easily but of course there are exceptions to every rule. I used water and vinegar instead of the spray remover they sell at Lowe’s… I don’t know if one is any different than the other. I’m just glad it’s over!
LikeLike